HTC Vive Motion Tracking Hardware Set Up
- 07 Aug 2025
- 7 Minutes to read
- Contributors


- Print
- DarkLight
HTC Vive Motion Tracking Hardware Set Up
- Updated on 07 Aug 2025
- 7 Minutes to read
- Contributors
- Print
- DarkLight
Article summary
Did you find this summary helpful?
Thank you for your feedback!
Section 9. HTC Vive Motion Tracking Hardware Set-Up
This section describes how to connect your Base Station and Vive Tracker equipment.
Section 9.1 HTC Vive Motion Tracking Hardware
In Table 2 below, you will find a list of the Motion Tracking Hardware components.
Name | Information | Quantity | Image |
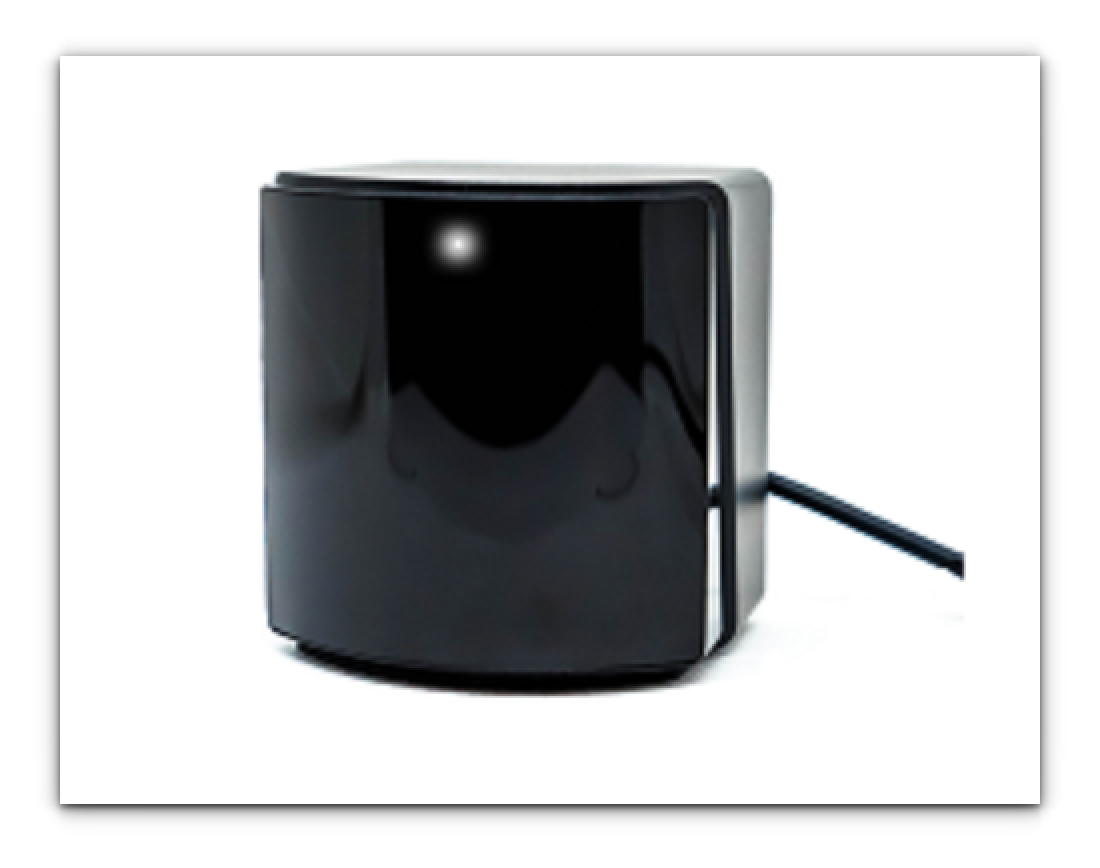
2.0 Base Station | Rectangular boxes with motion-sensing capabilities | 2 (minimum), 4 or more for larger spaces |
|
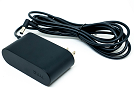
AC Power Cable | Base Station power supply | 1 per base station |
|
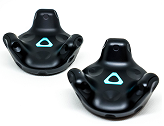
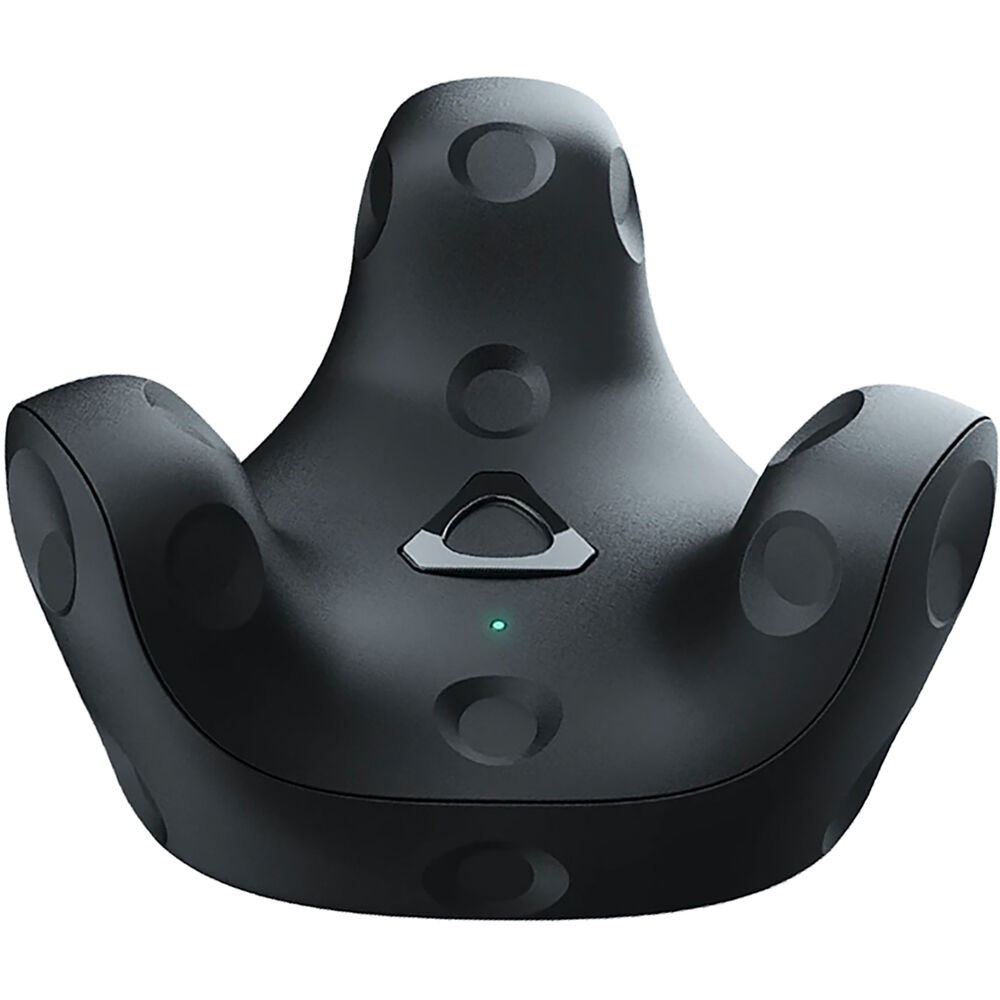
2.0 or 3.0 Vive Tracker | A puck-shaped device used to calibrate and track motion within the range of the motion-sensing Base Stations | 2 |
|
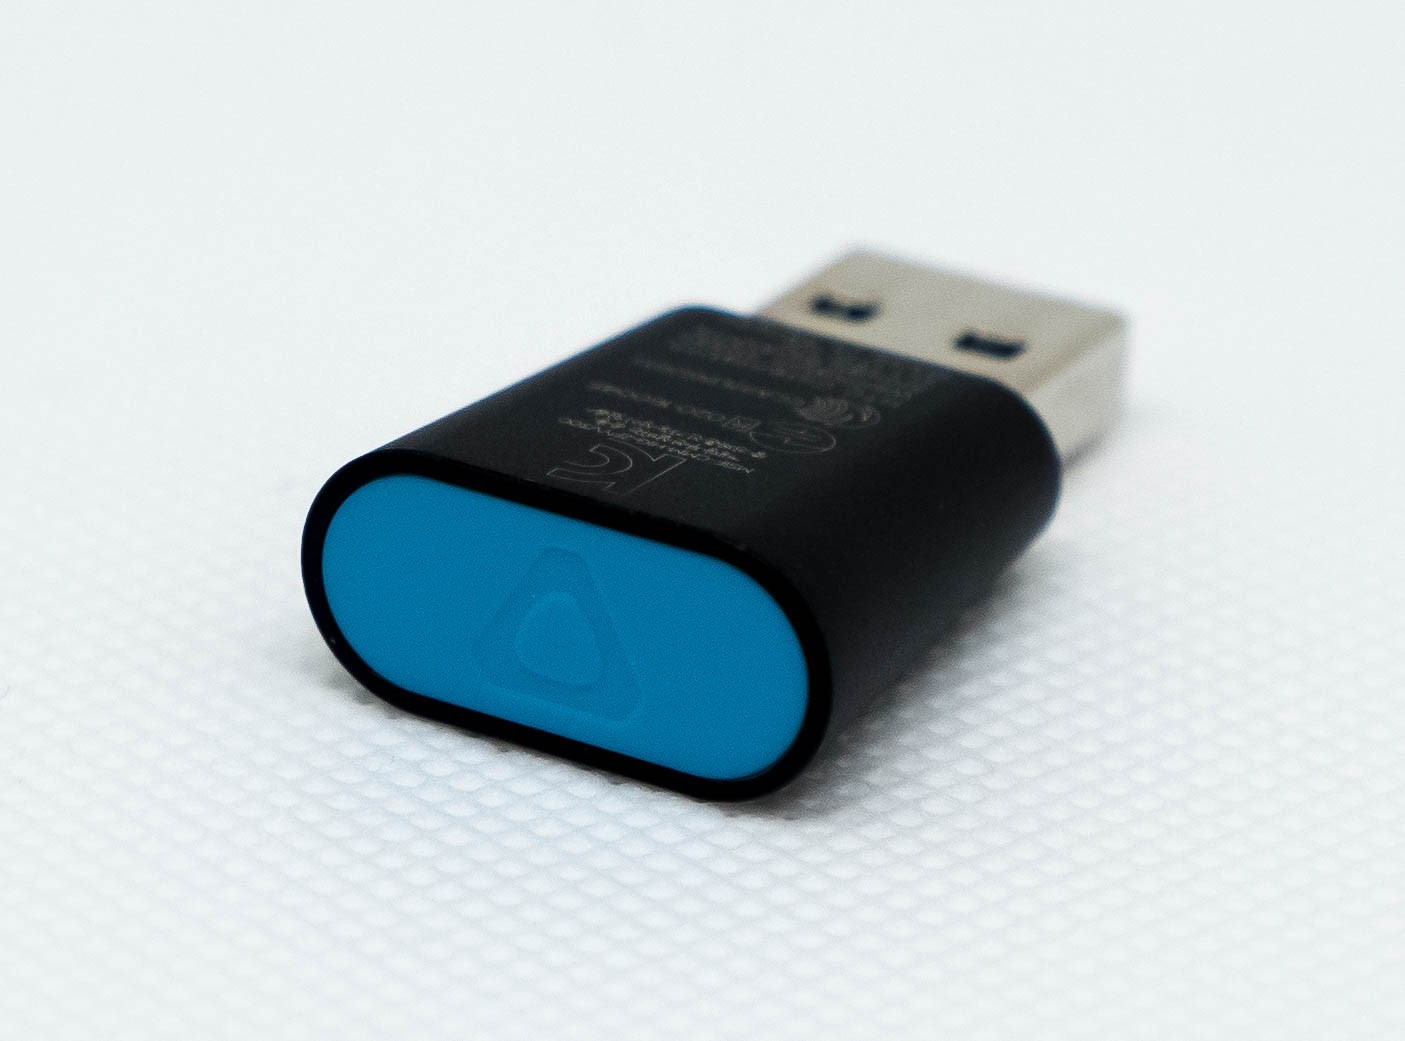
Vive Tracker Dongle | Provides a wireless connection for Vive Trackers, but it is recommended to connect trackers with cables and dongle for best tracking results. (Each Vive Tracker comes with a Vive Dongle, please label the dongle and trackers that belong to each other for ease of use.) | 2 |
|
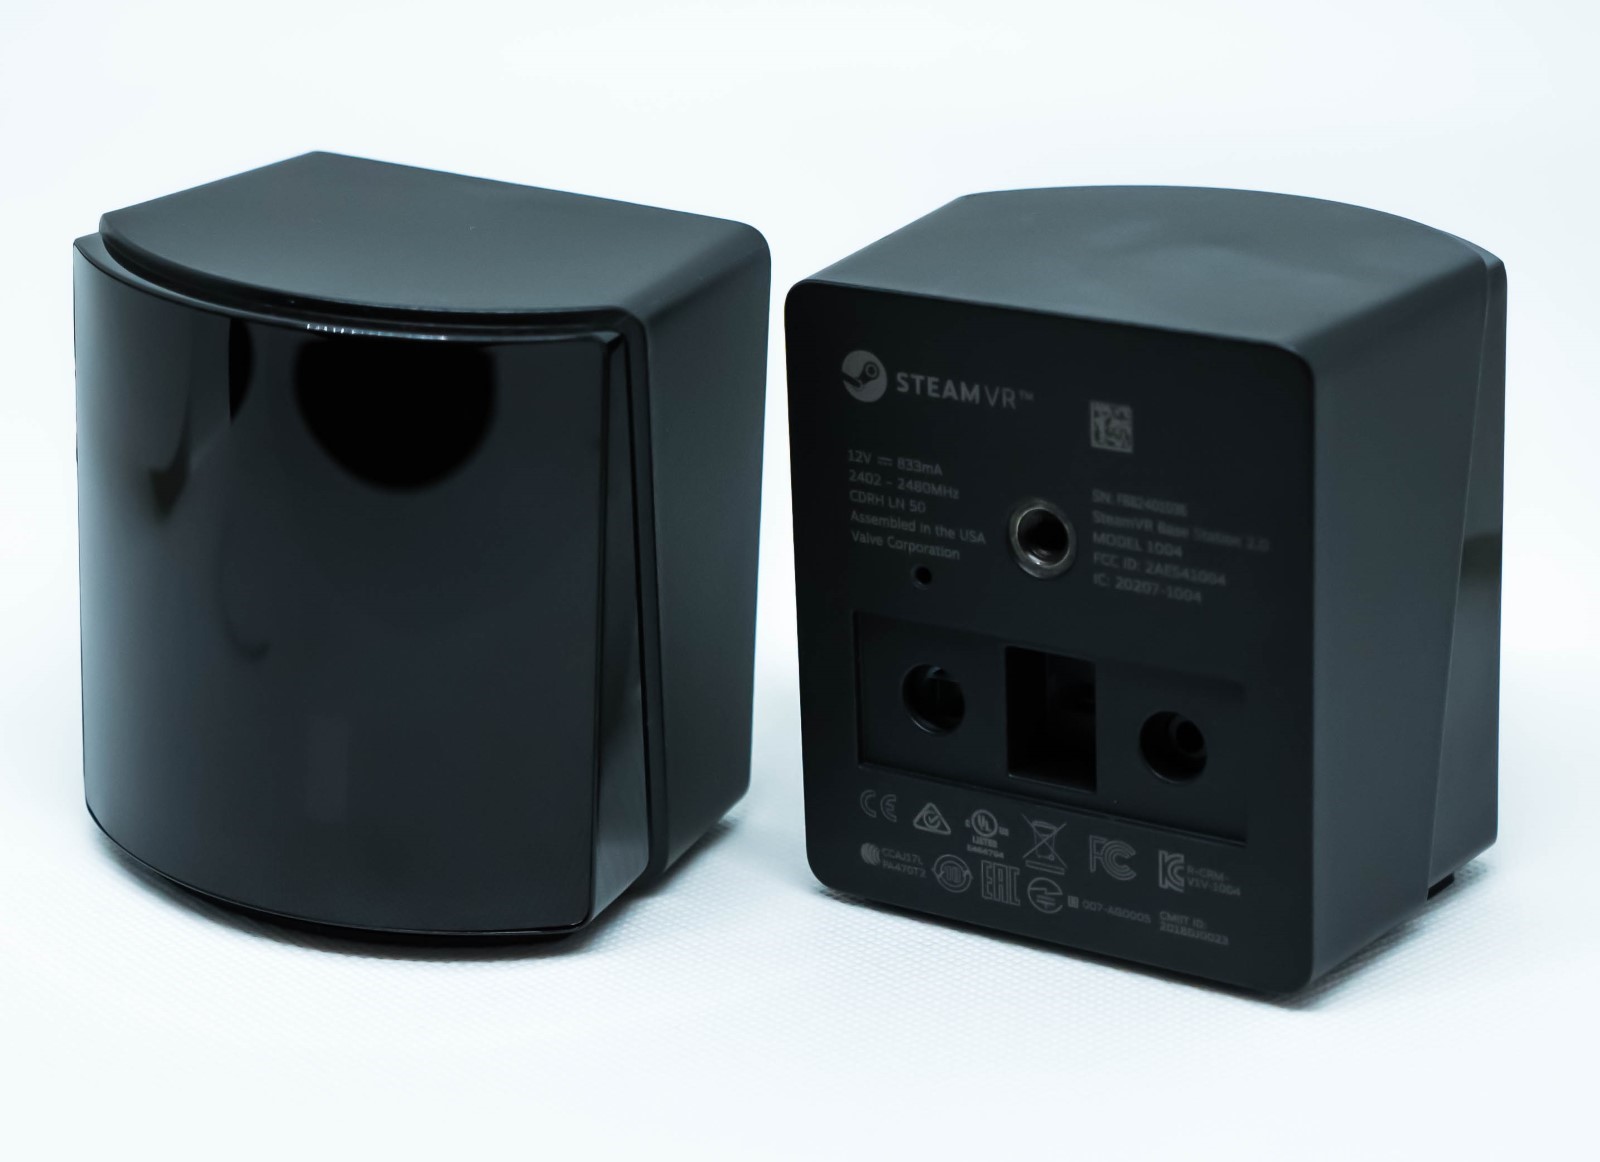
Section 9.2 Connect Base Station
Two (2) Base Stations are the minimum requirement to work with the ARFX, but up to 16 Base Stations can be used at a time. It is recommended to use around 4-6 Base Stations around the intended play area where the physical camera will be tracked for optimal tracking. To turn on a Base Station, connect an AC power supply to each Base Station and plug into the correct power outlet. Initially, the Base Station will display a blinking blue light.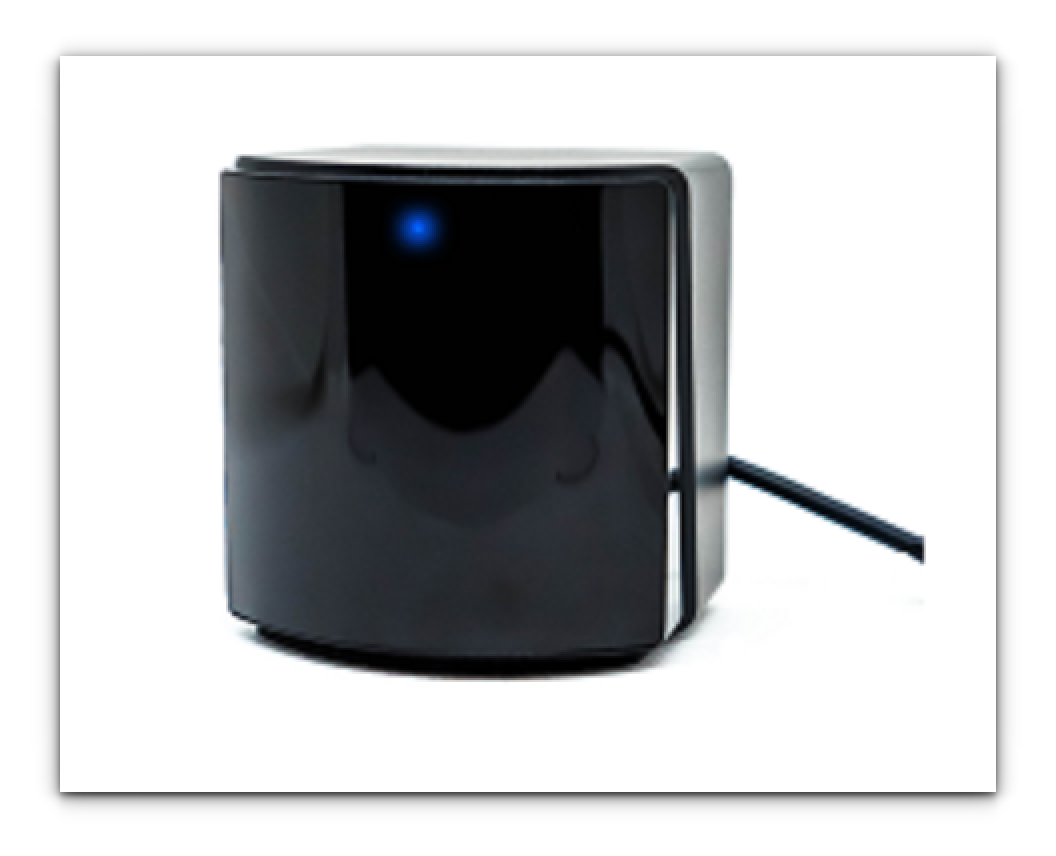
It will then turn into a white or green light to indicate that the Base Station is active.
 Turn off /unplug the Base Stations when not in use to prevent overheating and preserve the operating lifetime of the device. Each Base Station has a little running motor inside that will eventually wear down the device over time. Having a few backup Base Stations is recommended when preparing for a film production shoot in case an older Base Station stops working on set.
Important
There is minimal power draw per Base Station, which makes it easy to share power with on-set film lights as needed
Section 9.3 Connect Multiple Base Stations
To connect more than two Base Stations, you will need to make sure each Base Station has its own unique channel number and that SteamVR is tracking the correct Base Stations. 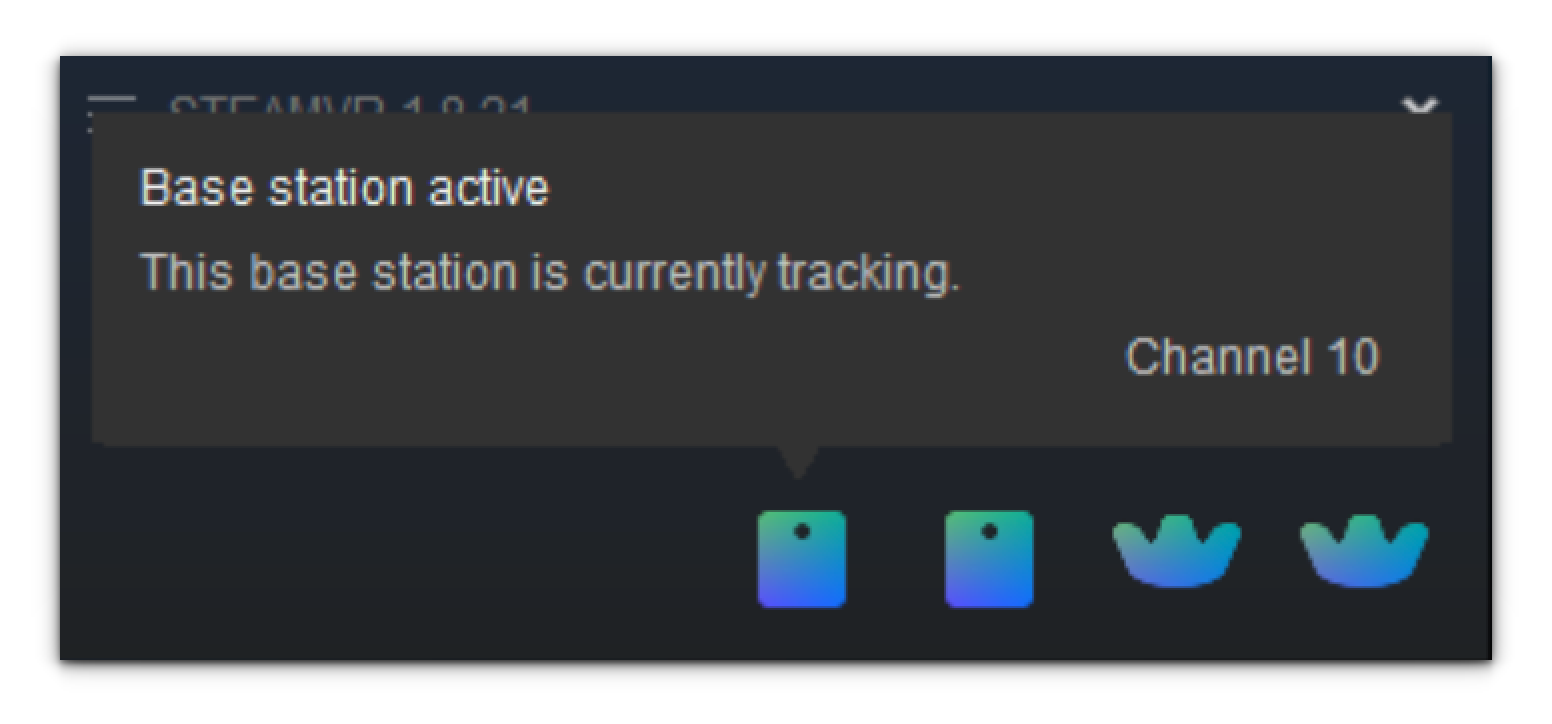
Important
Newly purchased Base Stations will have default channels that might be the same as existing Base Stations' channels, usually channel 1. Make sure to test and set Base Stations' channels before mounting them.
Best Practice
If only two Base Stations are being used in your system, there is no need to change the Base Stations’ channels. The system should work fine without changing the channels from 1. However, if issues arise or more Base Stations are added, be sure to change each Base Station to be on its own unique channel.
To set each Base Station with its own unique channel, do the following:
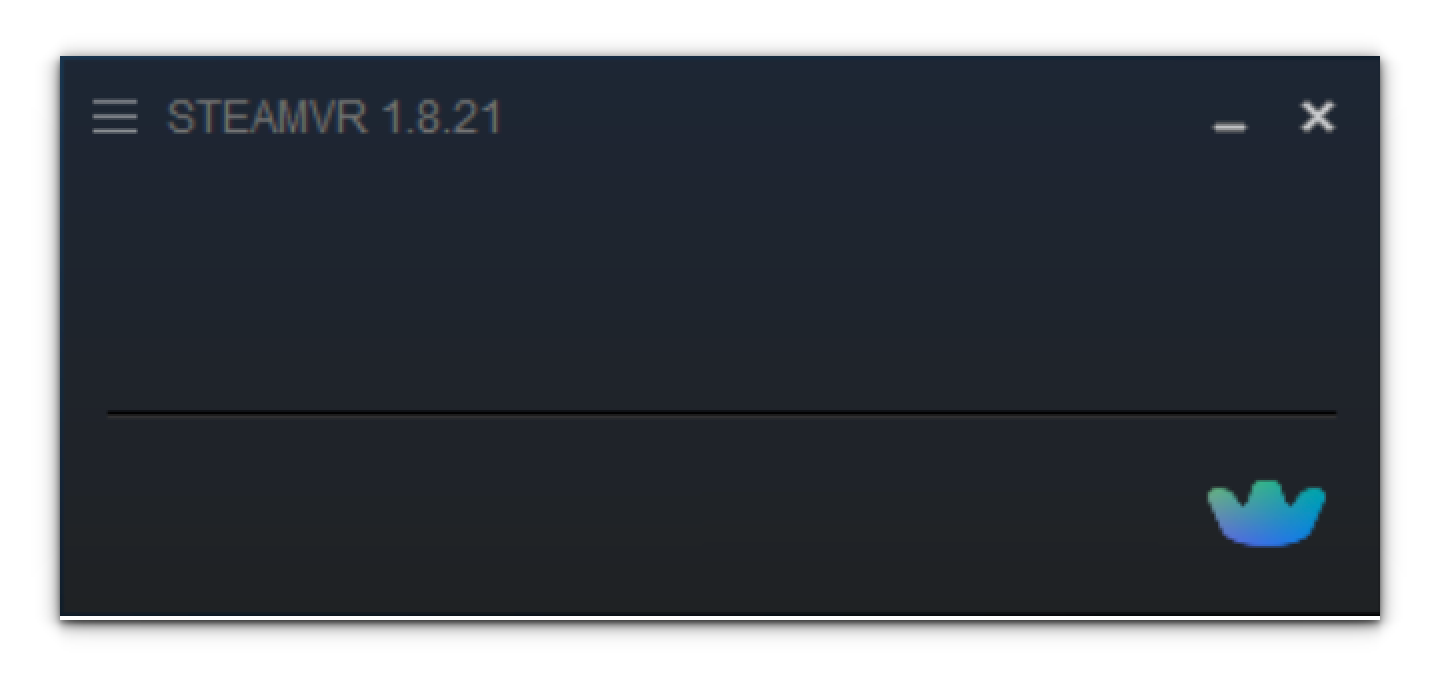
- Locate the SteamVR App on the Computer and open it.
- Connect a Vive Tracker to your machine via USB cables.
- Plug in one Base Station.
- Place the Vive Tracker in view of the Base Station. Each Base Station has a 120-degree field of view. This step can sometimes take several seconds before the SteamVR recognizes the Base Station, but moving the tracker in front of the Base Station can help the system recognize it faster.
- Hover over the (newly turned on) Base Station icon tracked on SteamVR to record which channel is taken.
- Plug in another Base Station and repeat steps 4 and 5.
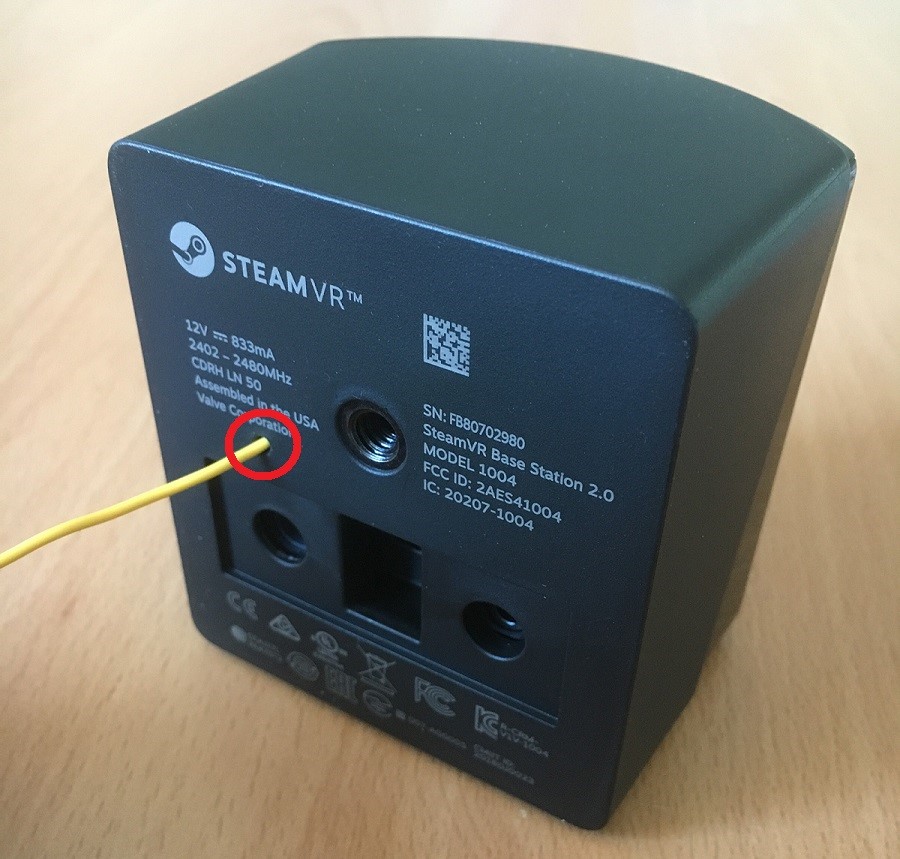
- If any Base Station is set to the same channel as the other Base Station(s), use a paperclip or thumbtack and press the Channel button at the back of the Base Stationto set a different channel. There is a total of 16 channels to pick from.
- Make sure the new Base Station’s channel does not overlap with the existing Base Stations’ channels.
- Repeat steps 4-7 until all Base Stations have their own channels and are tracked by SteamVR.
Best Practice
It is recommended to label the back of a Base Station with the channel that is assigned to that Base Station for ease of use and troubleshooting on set.
Important
For convention or XR-heavy settings, there could be neighbors that are also using Base Stations that could interfere with ARFX’s tracking. It is best to talk to them about their Base Station setup and adjust channels and Base Station field of view accordingly.
Section 9.4 Base Station Placement
Optimal Base Station Considerations:
- The goal is to make sure the Trackers will always be seen by at least one Base Station regardless of where it is in the intended tracking/play area.
- Each Base Station should be placed at a height of around 2 meters/6.5 feet tall (light stands with proper adapters are recommended, but Base Stations can be attached directly to higher walls, ceilings, or set pieces if needed – just make sure that whatever the base stations are attached to is not easily disturbed, moved, or shaken during filming).
- Each Base Station field of view should be tilted slightly down toward the intended tracking/play area.
- Each Base Station field of view should slightly overlap other Base Station field of views and all Base Stations together should cover the tracking area that you expect the Trackers to be active in. Keep in mind that each Base Station has a 120-degree field of view, but with creative daisy-chaining, a few Base Stations can create a sizeable play area for the tracked camera.
- Be sure that at least one Base Station can see the screen that you are using (mainly the center of the screen, where you will be calibrating with a tracker).
- Make sure that Base Stations and tracking/play areas are away from sunlight or other reflective surfaces such as mirrors or glass if possible. These factors can affect tracking and should be minimized as much as possible on set.
- Some on-set lights can cause IR radiation to interfere with tracking stability with Base Stations. It is recommended to turn one light on at a time while testing tracking to test if lights are causing tracking issues. Most common lights that cause issues are older.
HTC Vive offers best practices for Base Station/Base Station placement here: https://www.vive.com/eu/support/vive/category_howto/tips-for-setting-up-the-base-stations.html
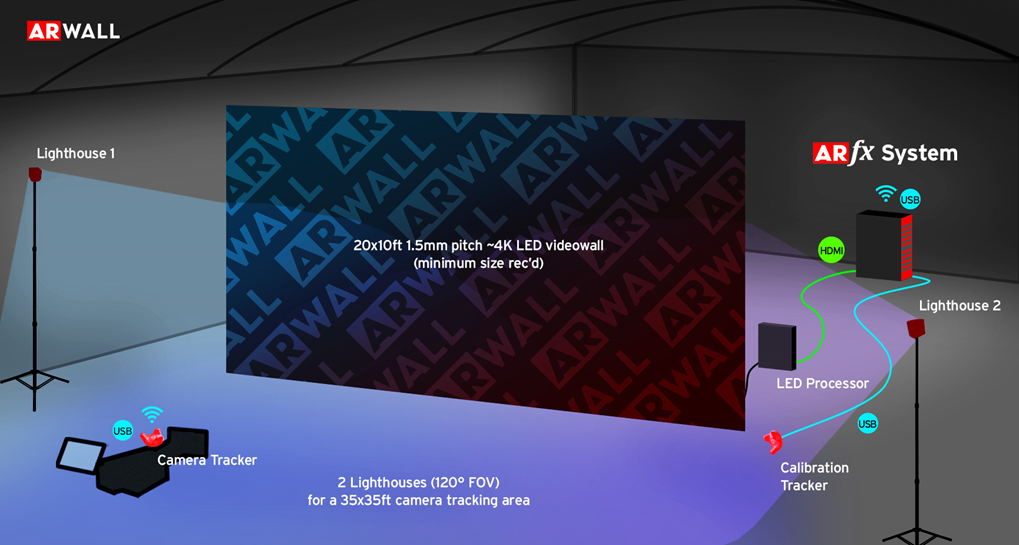
Sample ARFX with HTC Vive Tracking Hardware Setup (Base Stations are identified as “Lighthouses” in the below image)
Section 9.5 Connect Vive Tracker
To connect the Vive Tracker, do the following:
- Locate the SteamVR App on the Computer and open it.
- Plug in a Vive Tracker to the machine with USB cables and place it within view of at least one Base Station that is powered on. If the Vive Tracker is plugged in, you should be able to see the tracker on the SteamVR app.
If SteamVR asks for an HMD to be connected, refer to Section 3.5 SteamVR Software Set Up on how to turn this off.
Important
Ensure that the Vive Tracker is inside the play area and within the 120-degree field of view of at least one Base Station.
3. To pair the Vive Tracker, press the middle button on the Vive Tracker.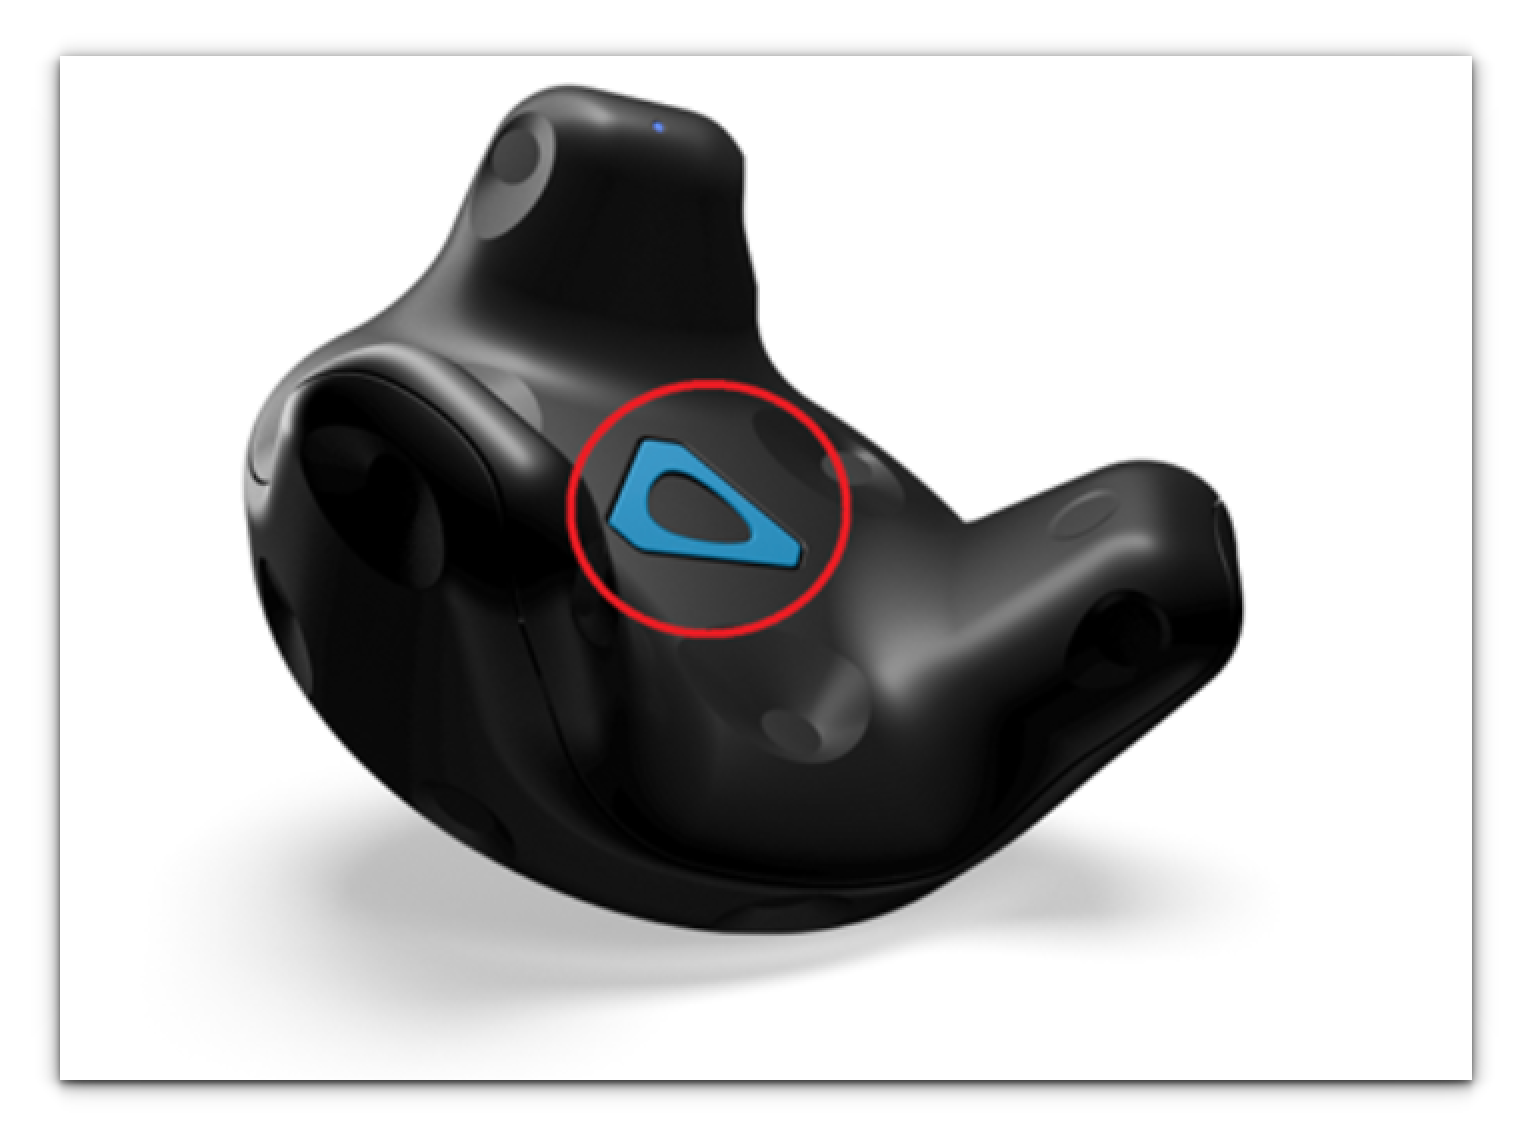
4. The light on the Vive Tracker should turn green or amber once it is paired.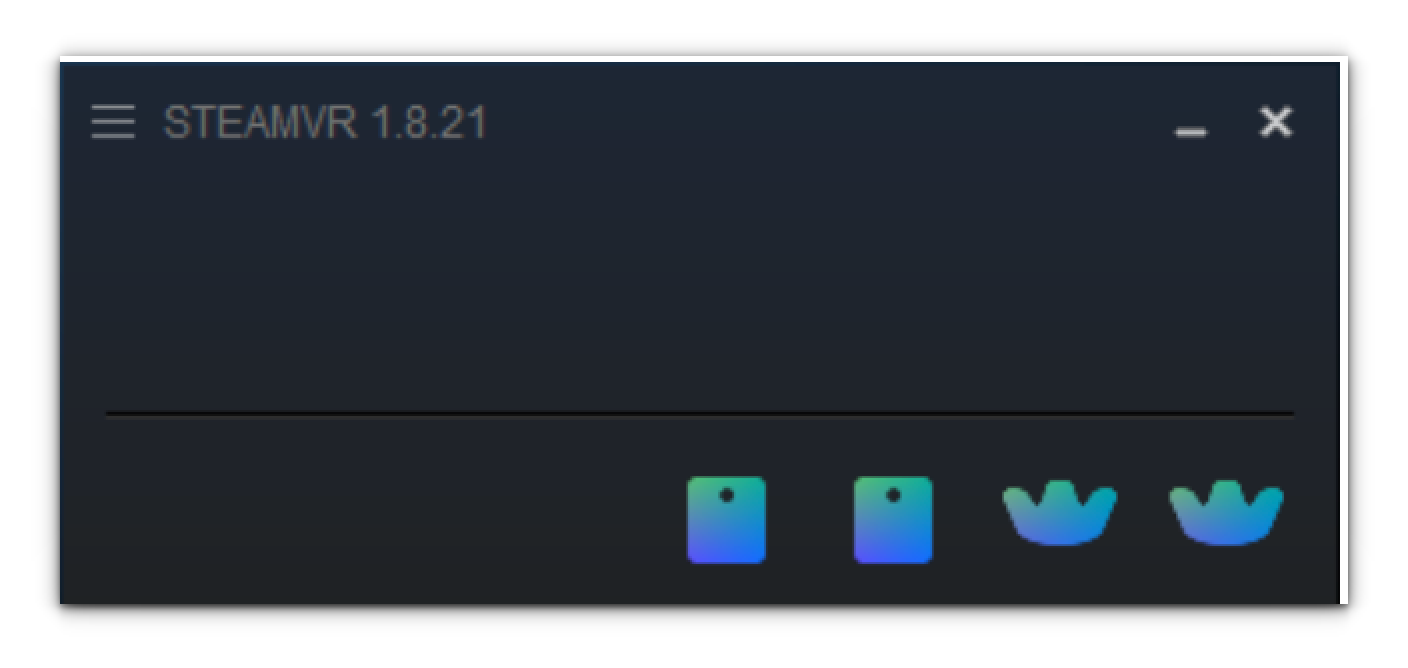
Important
A green or amber light should show once the middle button is pressed. Do not hold the middle button
Check the SteamVR app after the pairing is complete. The tracker and any Base Stations that can see the tracker(s) should appear. Hover over the tracker icon; if “Tracker Active” displays, the pairing was successful. 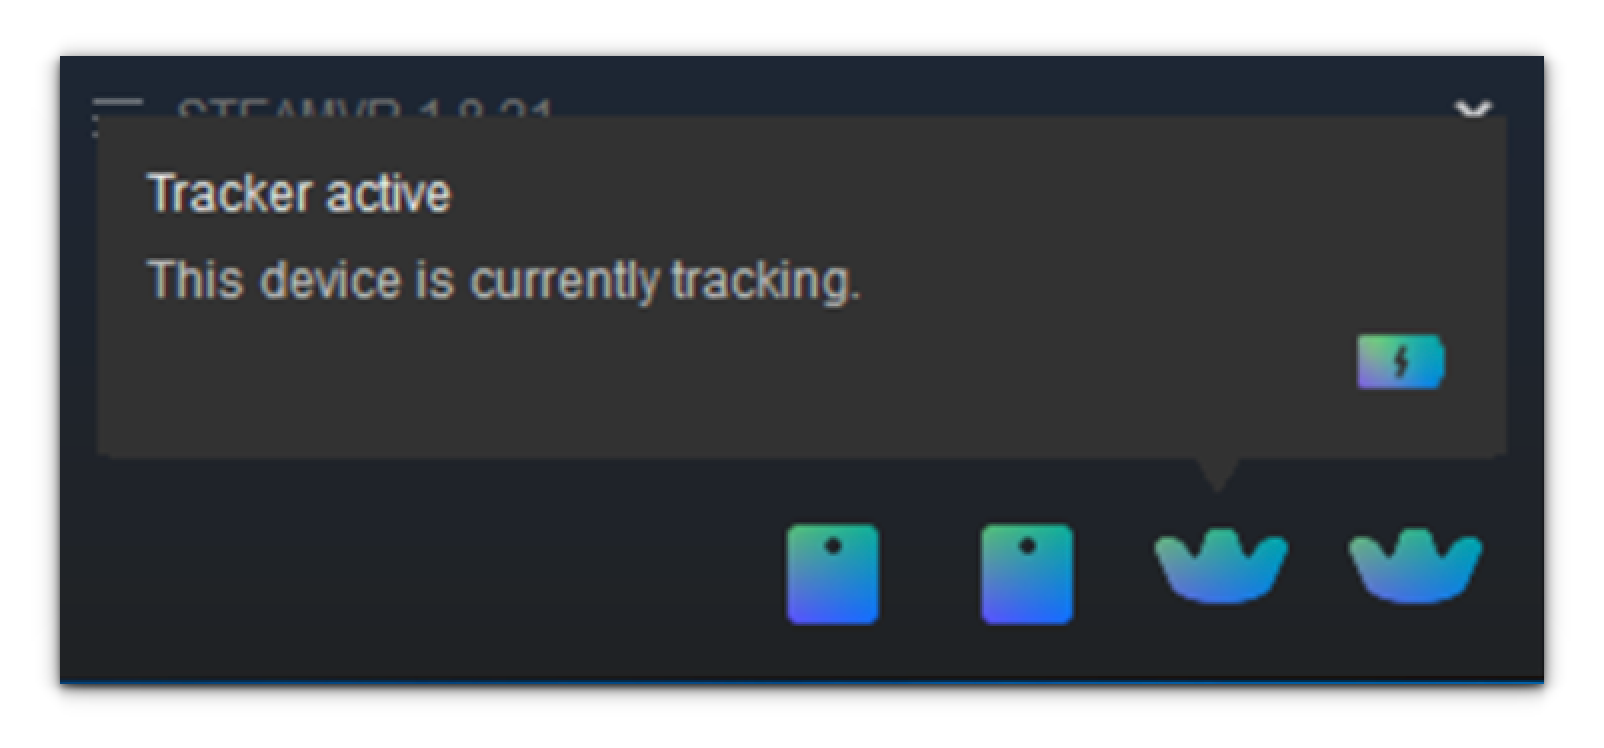
If the tracker pairing is not successful, restart the SteamVR app, check cable connections, and redo step 3.
Important
If the Base Stations are not reading, contact support@arwall.co.
Best Practice
Always charge the tracker when you are finished using it. To display the battery life, hover over the tracker icon in the SteamVR app. It is recommended to keep the trackers plugged into the machine to keep the trackers always charged.
Best Practice
While trackers can be used wirelessly (if the specified tracker’s dongle is plugged into the computer or USB dongle), it is also recommended to keep the trackers plugged in for optimal tracking, especially if there are potential interference such as neighboring AR/VR experiences or lots of cell phones in the tracking/play area.
The blinking light will change colors to indicate different statuses, as described in Table 3 below.
Table 3: Light Indicator
Color | Description |
Blinking Red | Low Battery |
Amber while plugged in | Charging, but paired/active |
White while plugged in | Fully Charged, but not paired/active |
Green | Paired/active |
Section 9.6 Identify and Label Vive Tracker Serial Numbers via USBDeview
To obtain each Vive Tracker serial number, do the following:
- Connect the USB-A to Micro USB (for Tracker 2.0) or USB-A to USB-C (for Tracker 3.0) cable from the computer to the Vive Tracker.
- Open the USBDeview on your desktop.
- In the USBDeview, under the Serial Number column, look for something that starts with LHR. It will be listed with a serial number. If it displays as green, this means it is active and connected to the machine.
- To differentiate between the two trackers, connect only one tracker at a time and see what shows up in USBDeview.

Best Practice
It is recommended to label your trackers with their unique Serial Number for ease of identification on set. It is also recommended to label which wireless USB Dongle belongs to which tracker by identifying them as A, B, etc. for ease of future identification and troubleshooting.
Important
A two-Vive Tracker system is generally recommended, with a Calibration Vive Tracker and a Hero Vive Tracker, but if only one tracker is available, please be sure to use the same Serial Number of your one Vive Tracker for both Calibration Tracker and Hero Tracker fields.
Was this article helpful?