ARFX Options Menu
- 07 Aug 2025
- 3 Minutes to read
- Contributors


- Print
- DarkLight
ARFX Options Menu
- Updated on 07 Aug 2025
- 3 Minutes to read
- Contributors
- Print
- DarkLight
Article summary
Did you find this summary helpful?
Thank you for your feedback!
Section 6: ARFX Options Menu
This section describes our easy-to-use menu system. Make and save changes, all while still in your launched session of ARFX Launcher.
Section 6.1: ARFX Options Menu
To access our menu system simply press the ESC or Backslash (\) key.
- ARFX has integrated all the necessary features to allow you to quickly access all your favorite tools in one location, all accessible while still in play mode.
- ARFX:
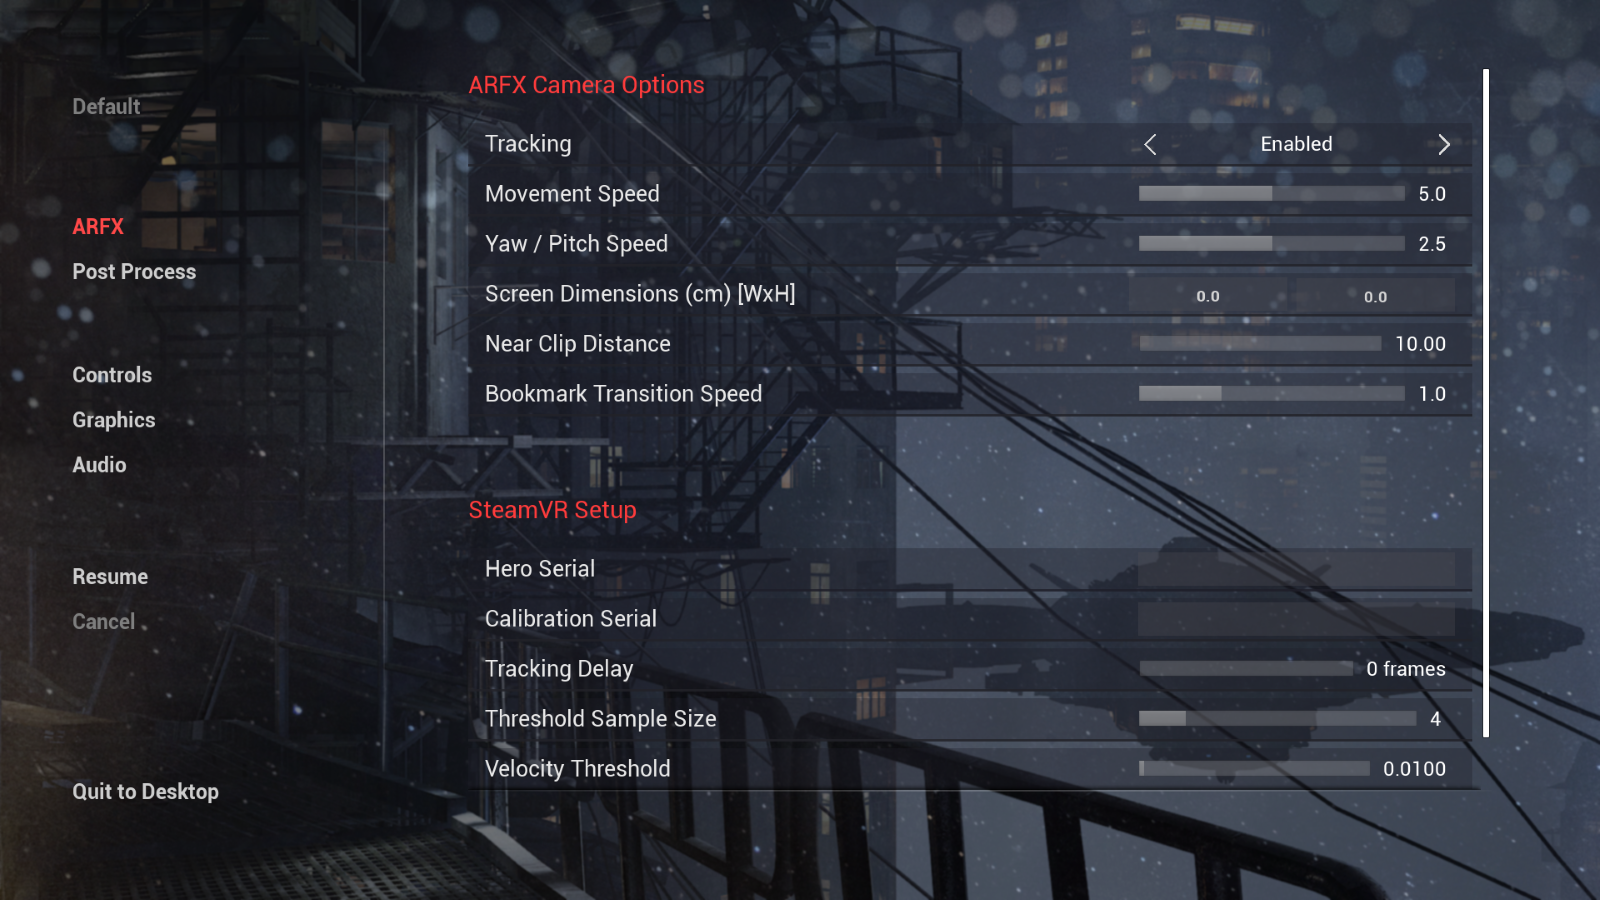
- ARFX Camera Options: Allow you to have further control over the ARwall Camera Actor within the scene
- Tracking: Toggles tracking on/off.
- Movement Speed: Input speed of the camera as it moves around.
- Yaw/Pitch Speed: Movement speed of camera pan and tilt.
- Screen Dimensions (cm) [WxH]: Physical Dimension of the screen in centimeters.
- Near Clip Distance: Distance at which the camera will clip objects too close to the screen/wall.
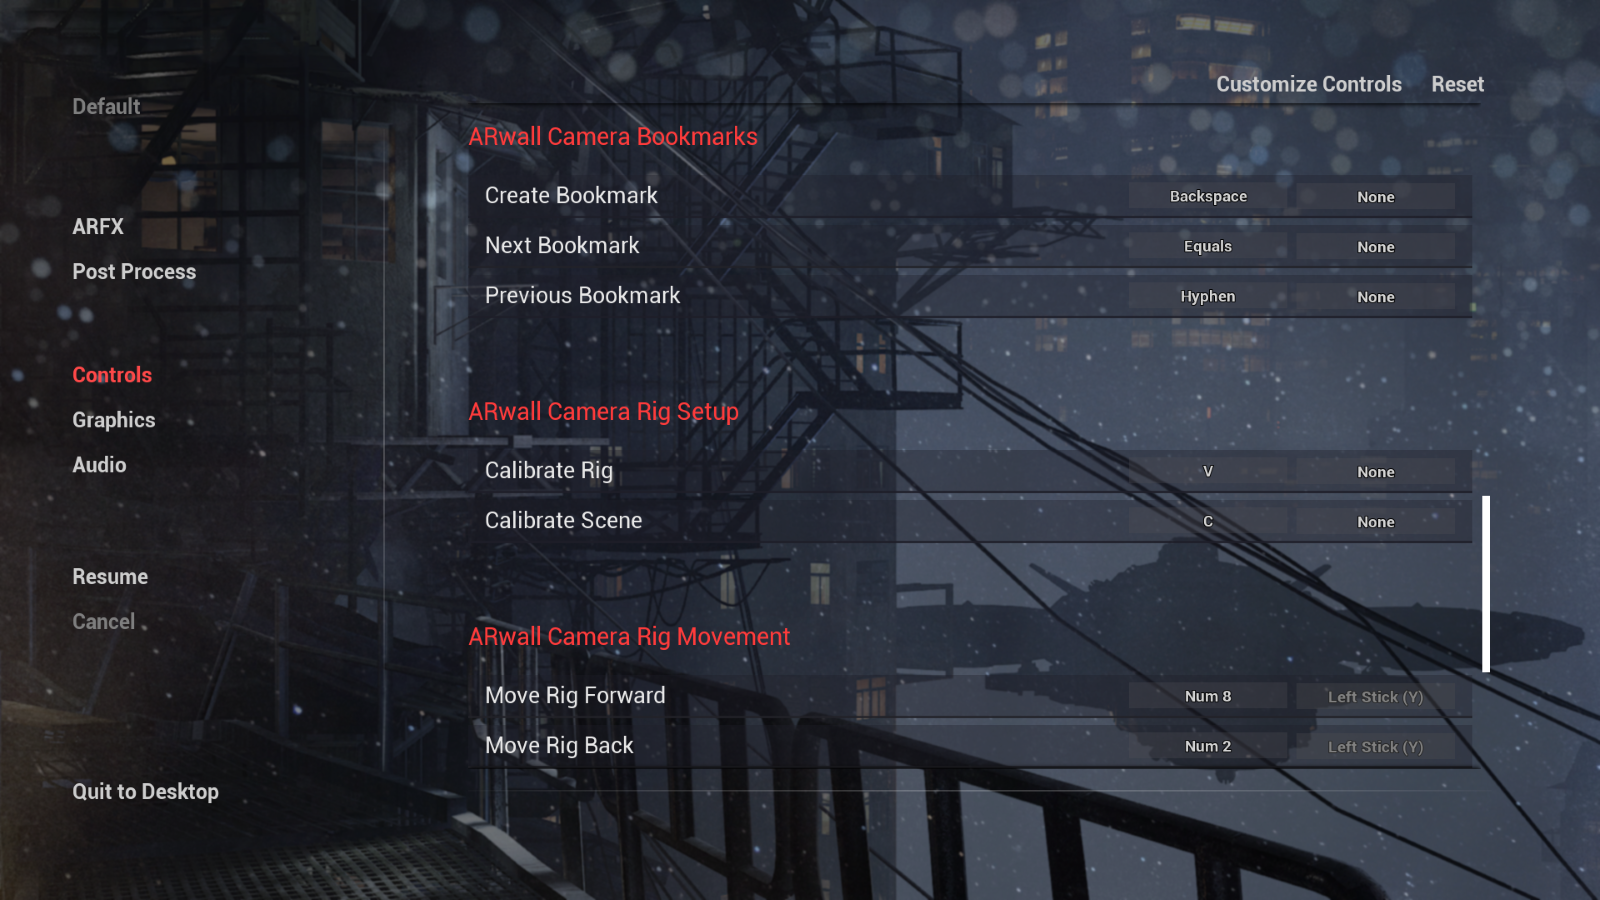
- Bookmark Transition Speed: Speed at which the camera will transition between bookmarks.
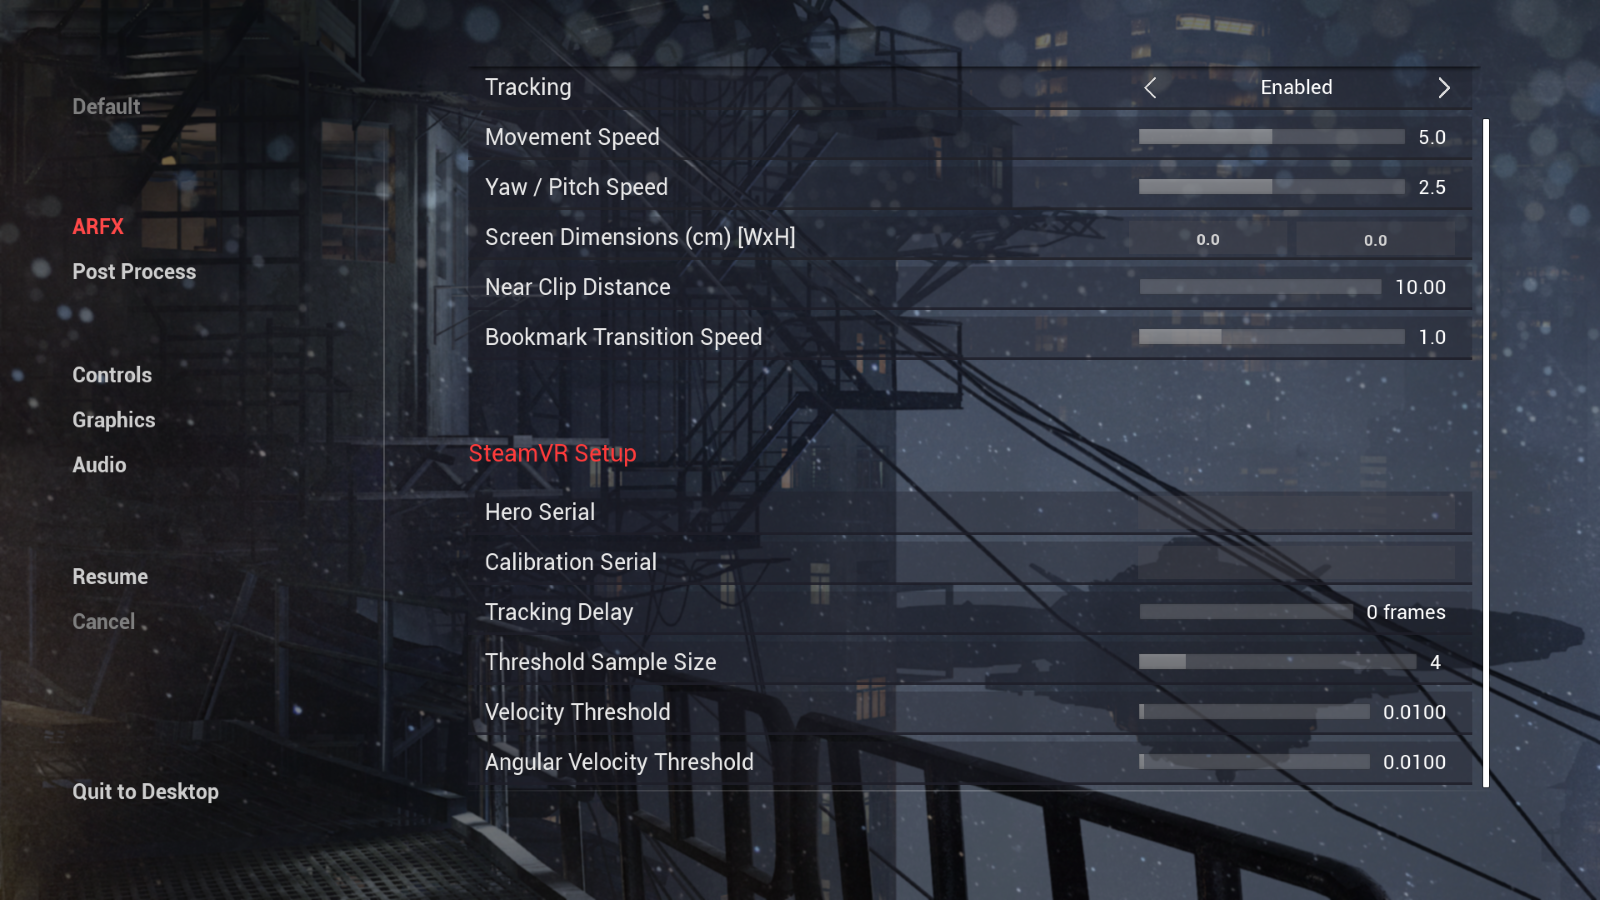
- SteamVR Setup: Ability to fix Tracker Serial numbers and fine tune SteamVR settings
- Hero Serial: Serial number can be found via USBDeview.exe.
- Calibration Serial: Serial Number can be found via USBDeview.exe.
- Tracking Delay: Delays the tracking by this number of frames.
- Threshold Sample Size: Number of samples we take to determine velocity and angular velocity.
- Velocity Threshold: Threshold at which we start tracking.
- Angular Velocity Threshold: Threshold at which we start tracking.
- ARFX Camera Options: Allow you to have further control over the ARwall Camera Actor within the scene
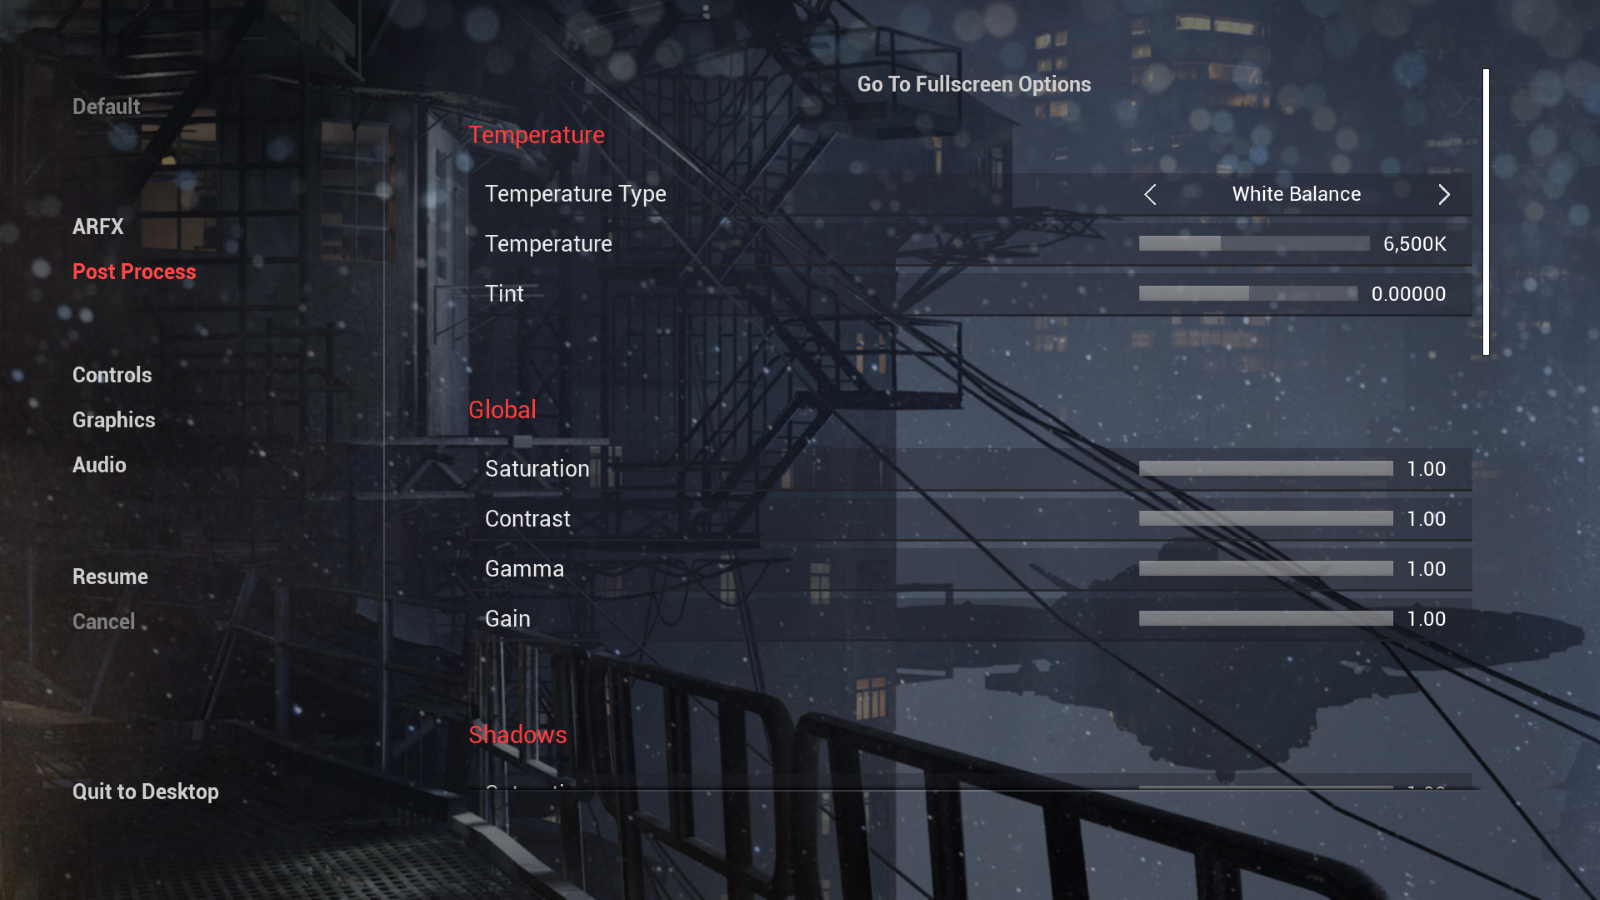
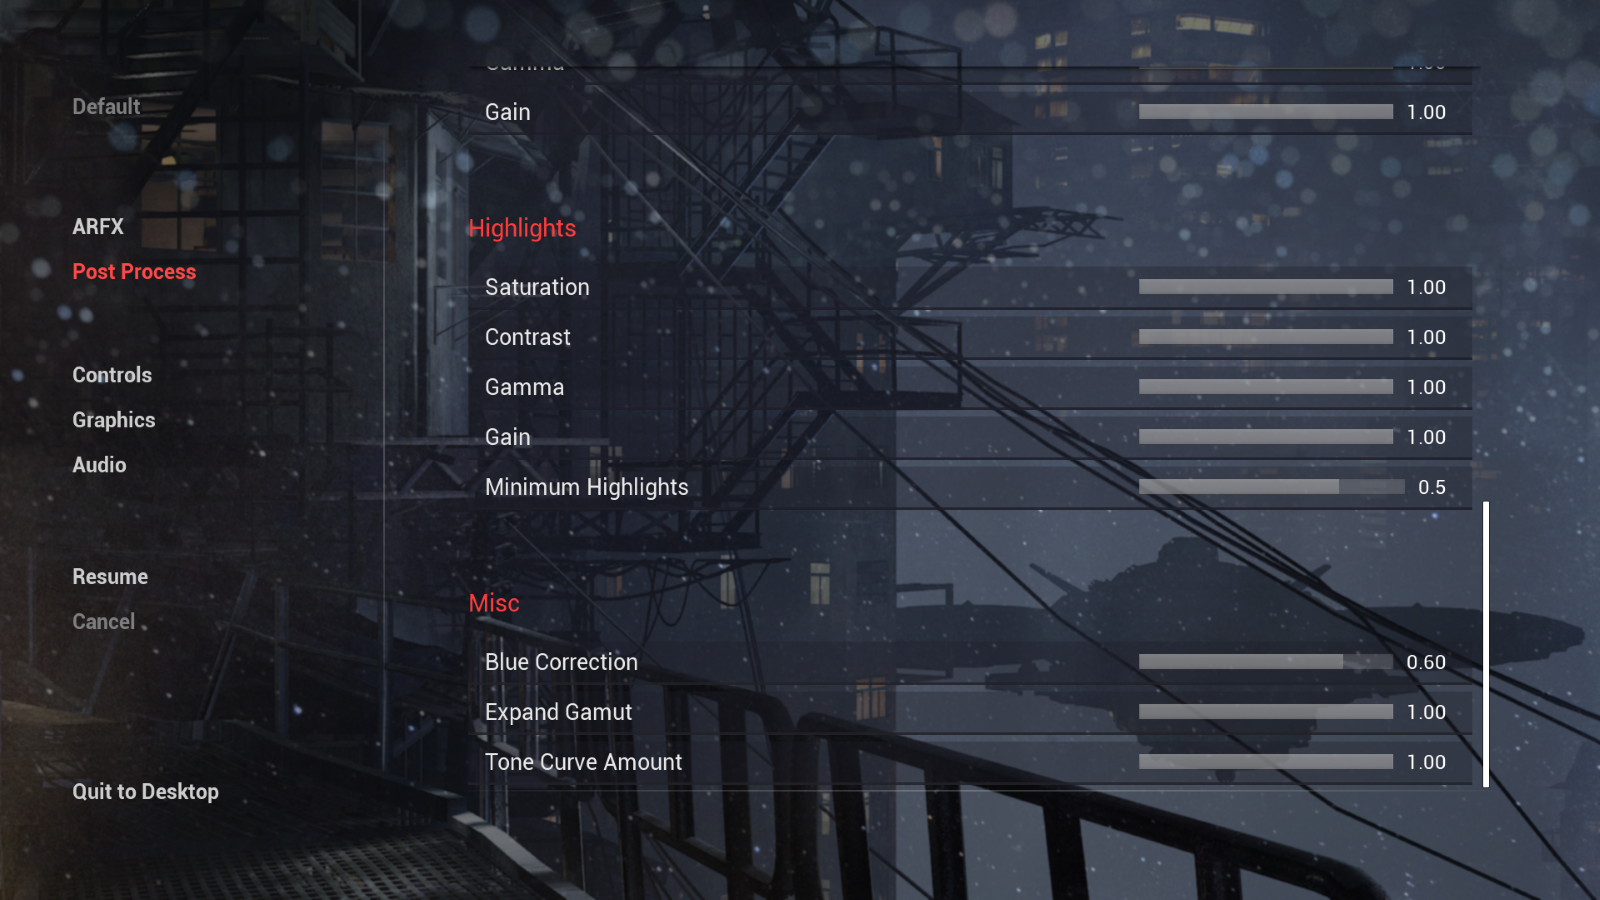
- Post Process: This section allows you to take further control over all your post process needs including:
- Temperature:
- Temperature Type: Selects the type of temperature calculation.
- Temperature: Temperature in Kelvin
- Tint
- Global:
- Saturation
- Contrast
- Gamma
- Gain
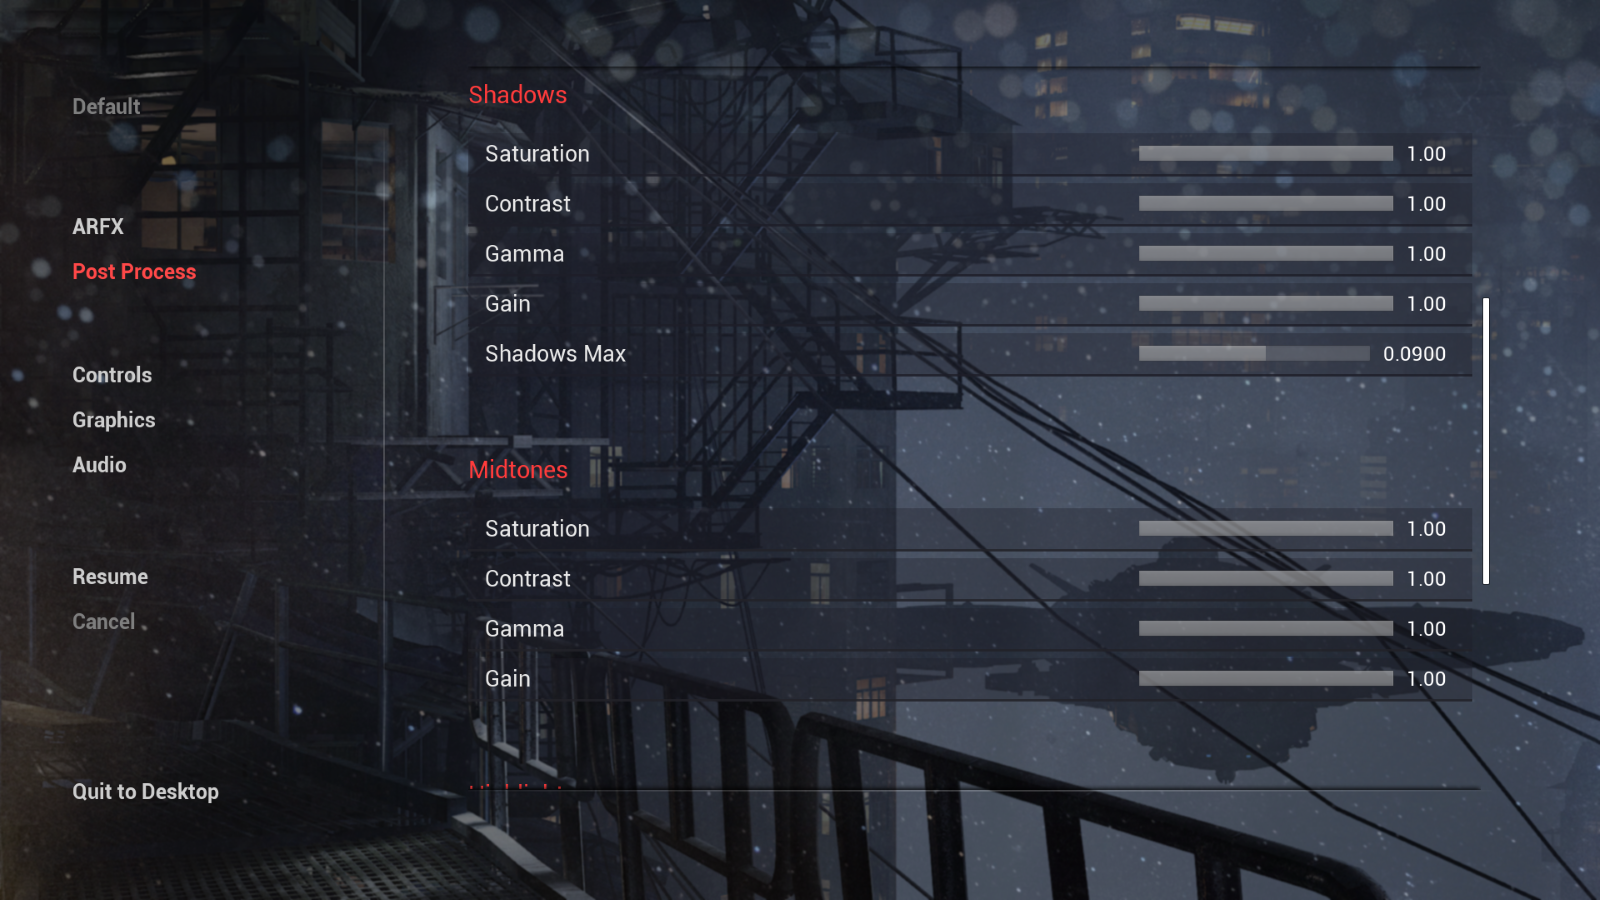
- Shadows:
- Saturation
- Contrast
- Gamma
- Gain
- Shadows Max
- Midtones:
- Saturation
- Contrast
- Gamma
- Gain
- Highlights:
- Saturation
- Contrast
- Gamma
- Gain
- Minimum Highlights
- Misc:
- Blue Correction
- Expand Gamut
- Tone Curve Amount

- Temperature:
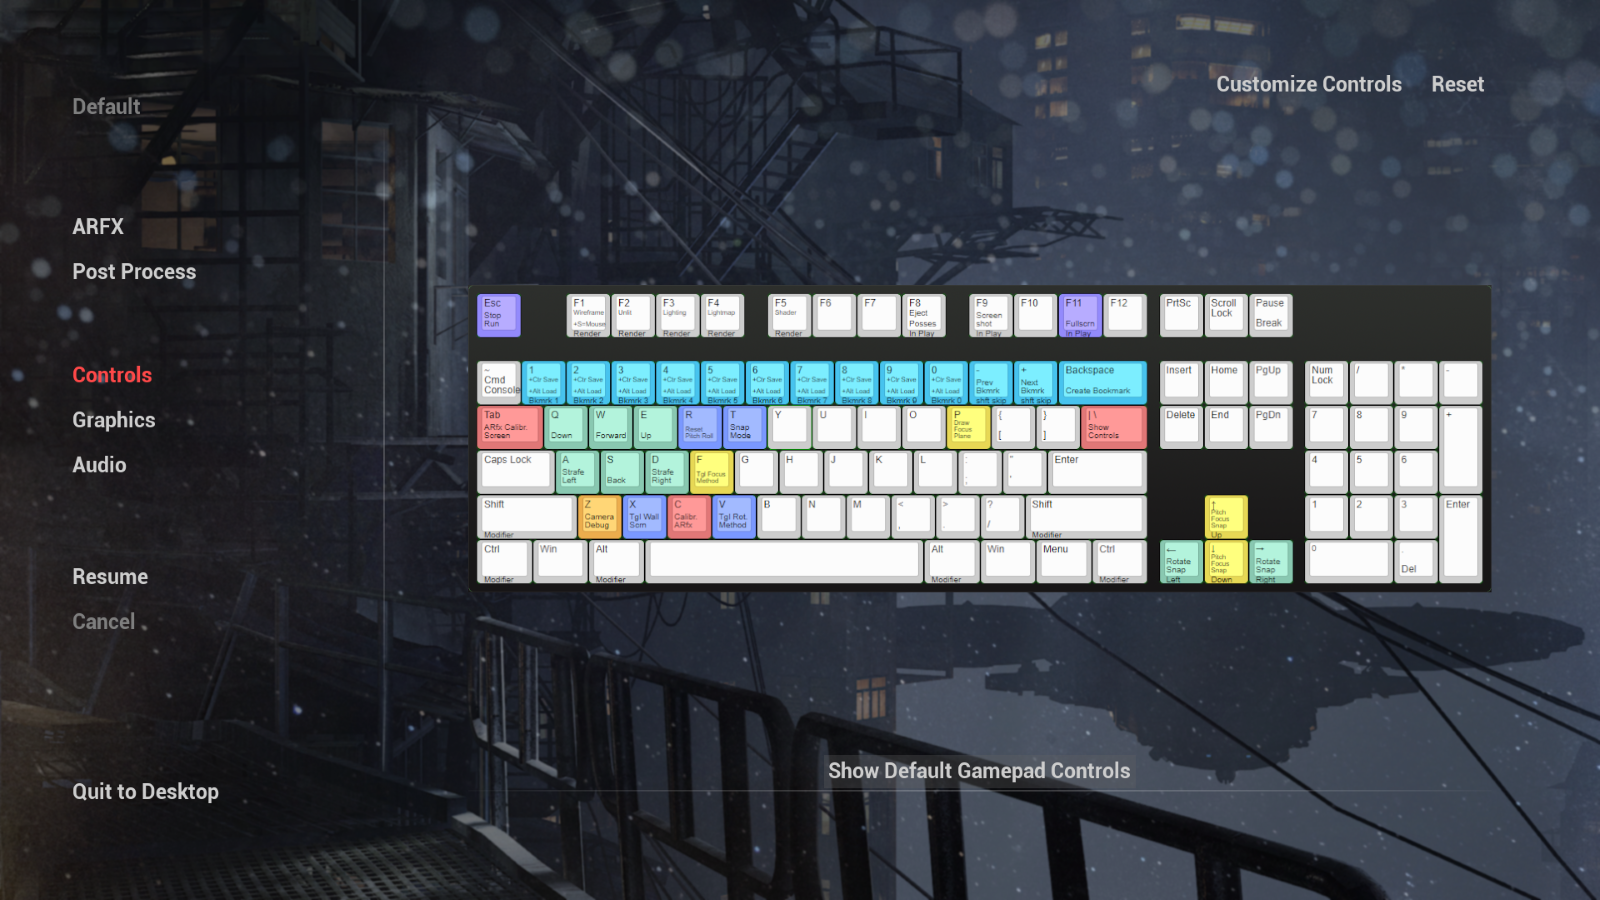
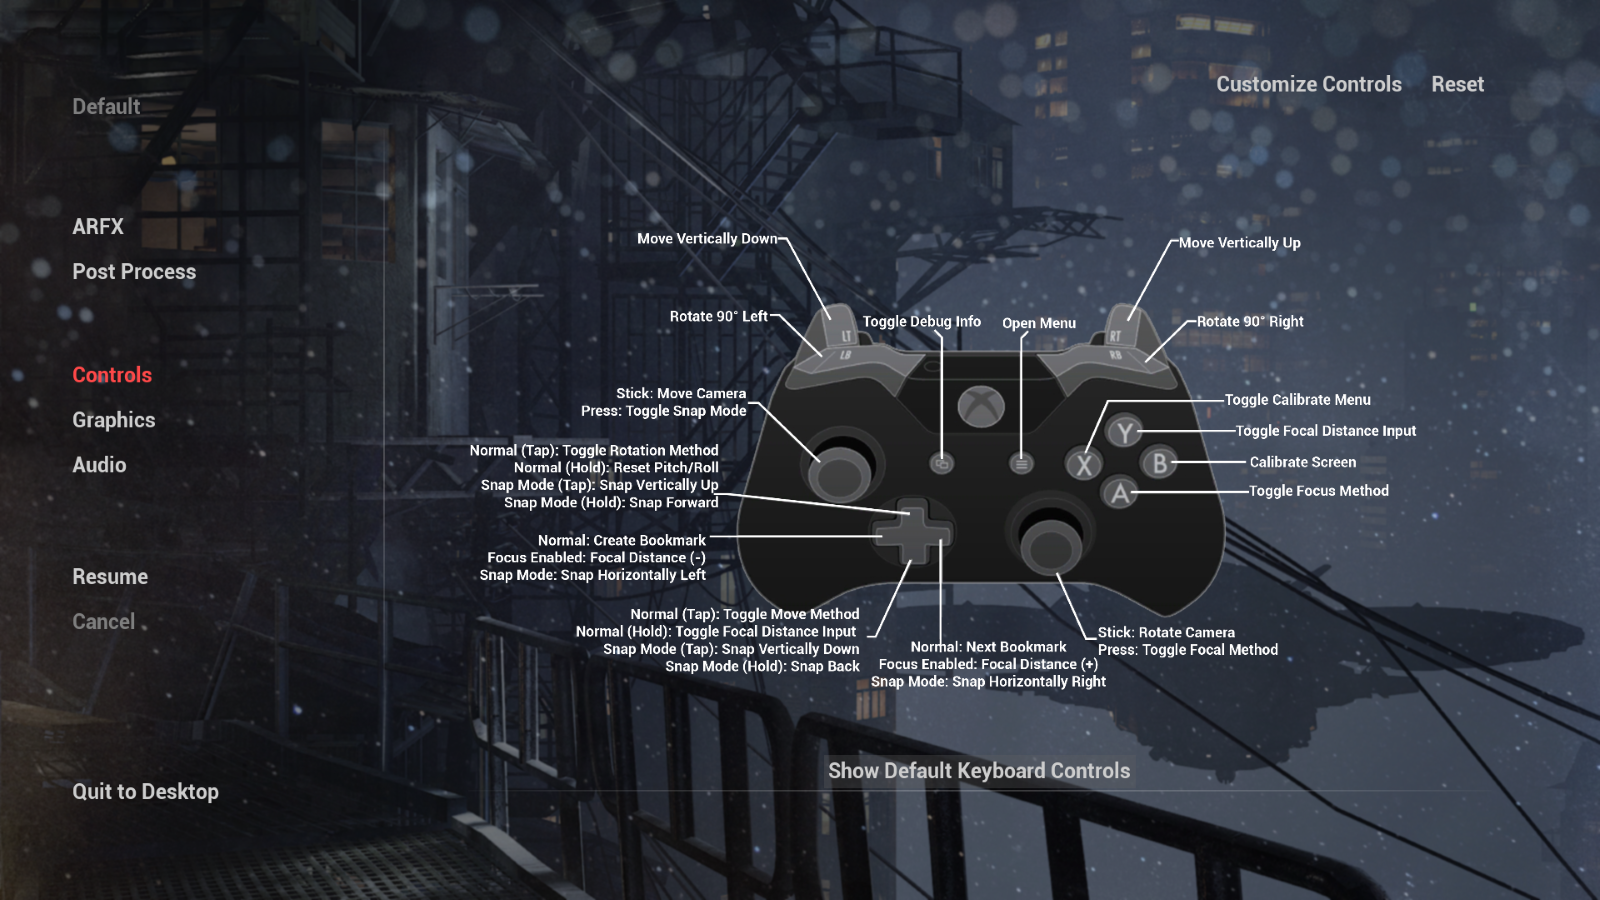
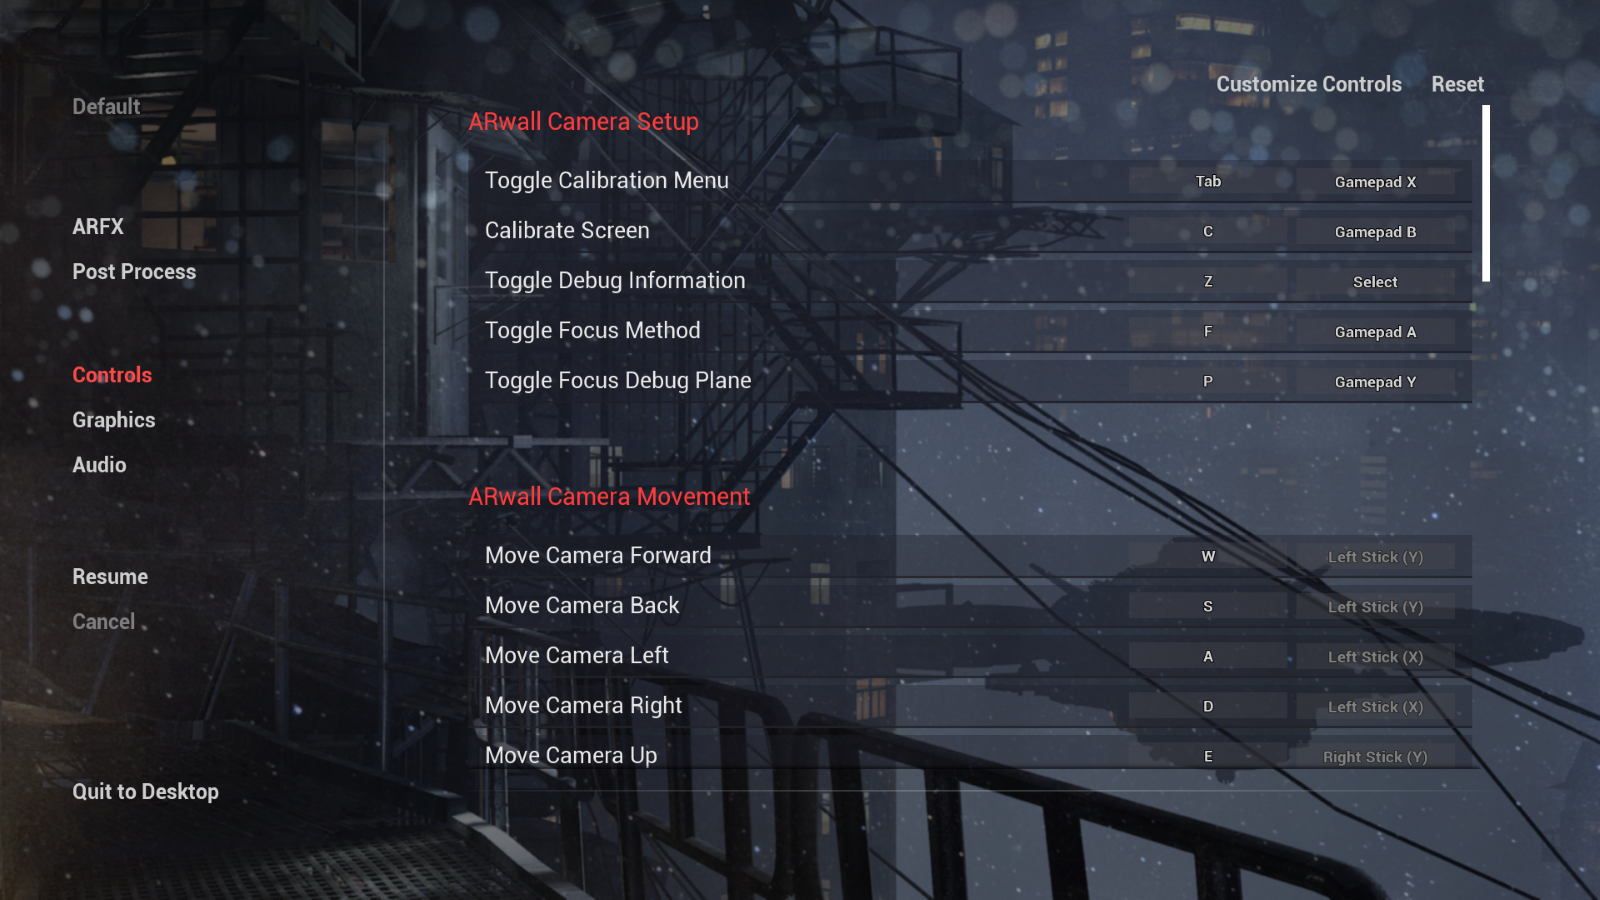
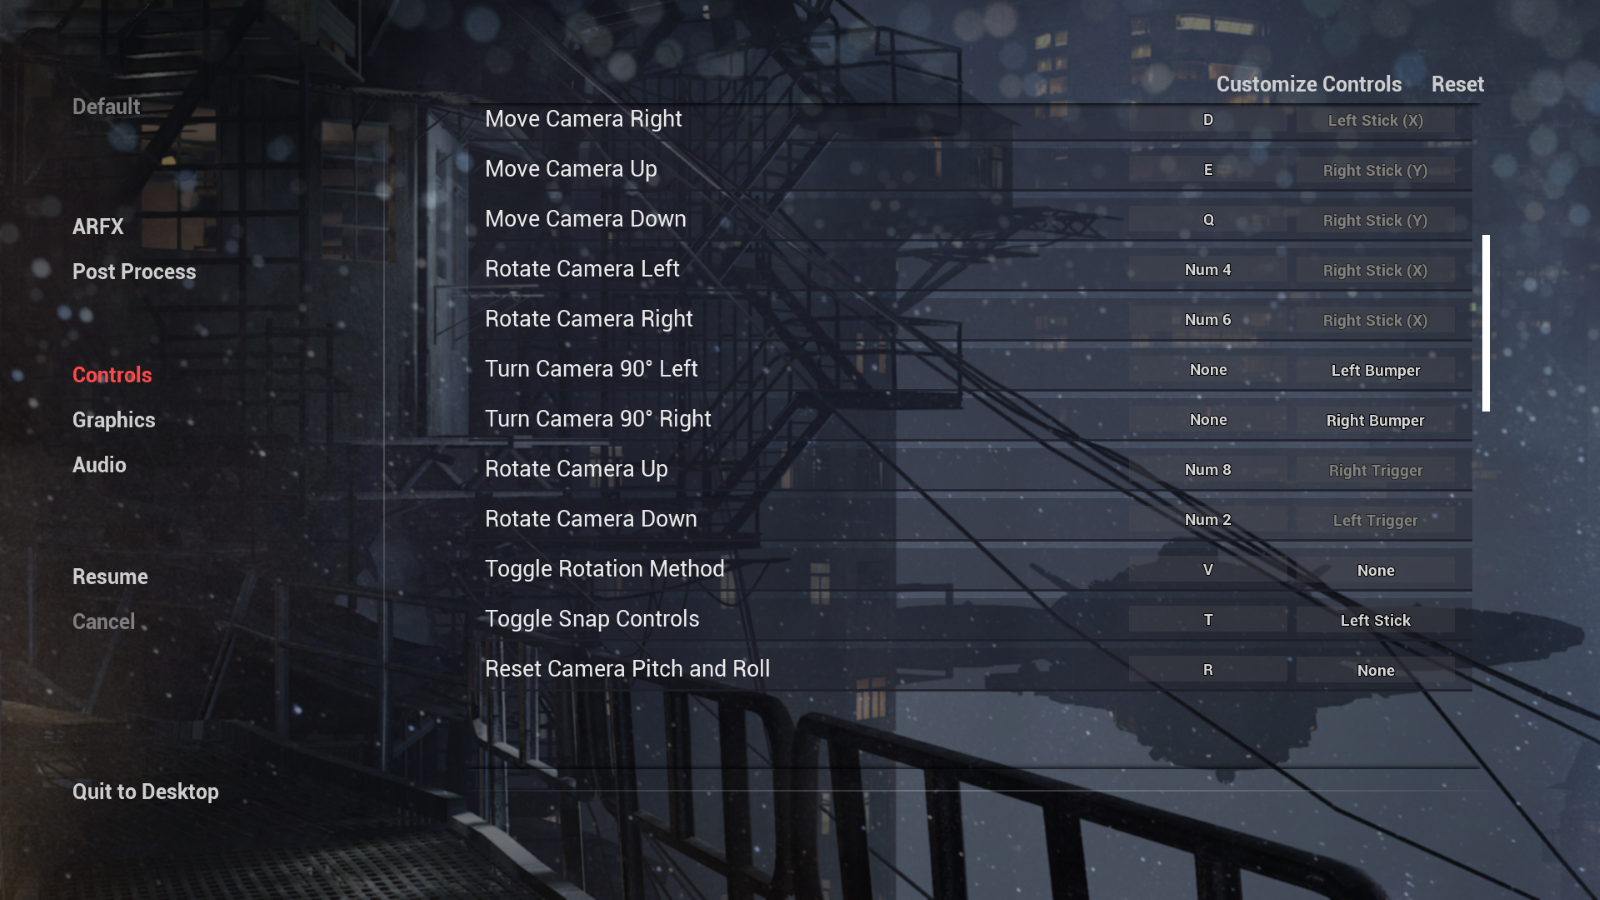
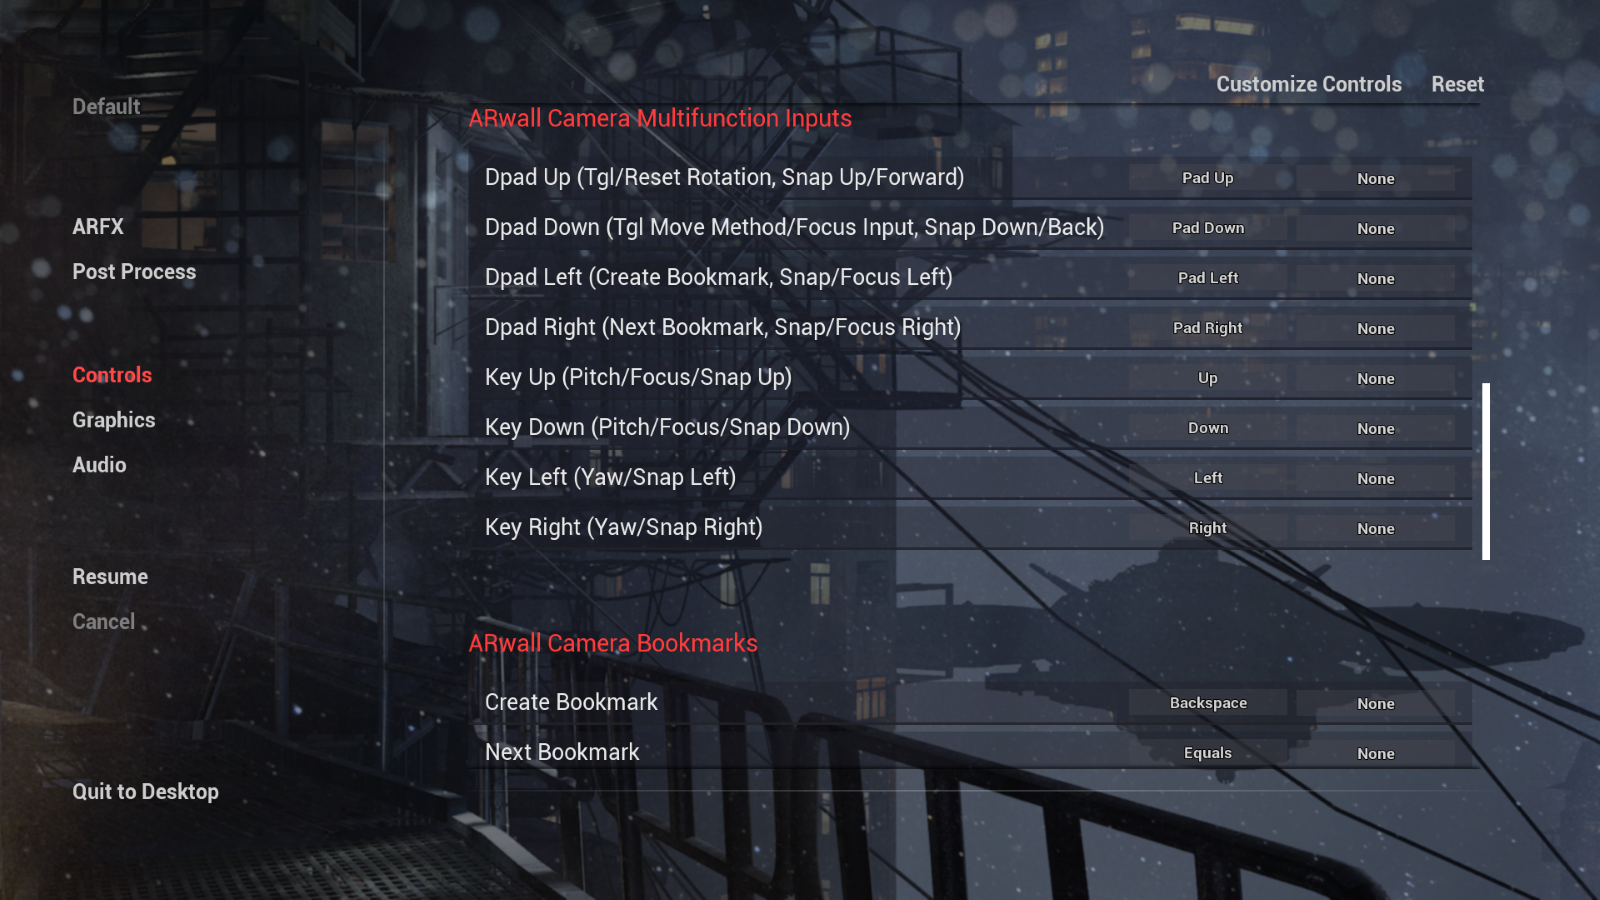
- Controls: (Hotkeys Customization for both Keyboard & Controller)
- You will first be greeted by a keyboard with all the controls. You can change the UI to view the controller settings instead by clicking ‘Show Default Gamepad Controls’ at the bottom of the screen.
- In the top right corner, you can select ‘Customize Controls’ where you can customize every single hotkey on both keyboard and controller. You can also ‘Reset’ all hotkeys to the default inputs.
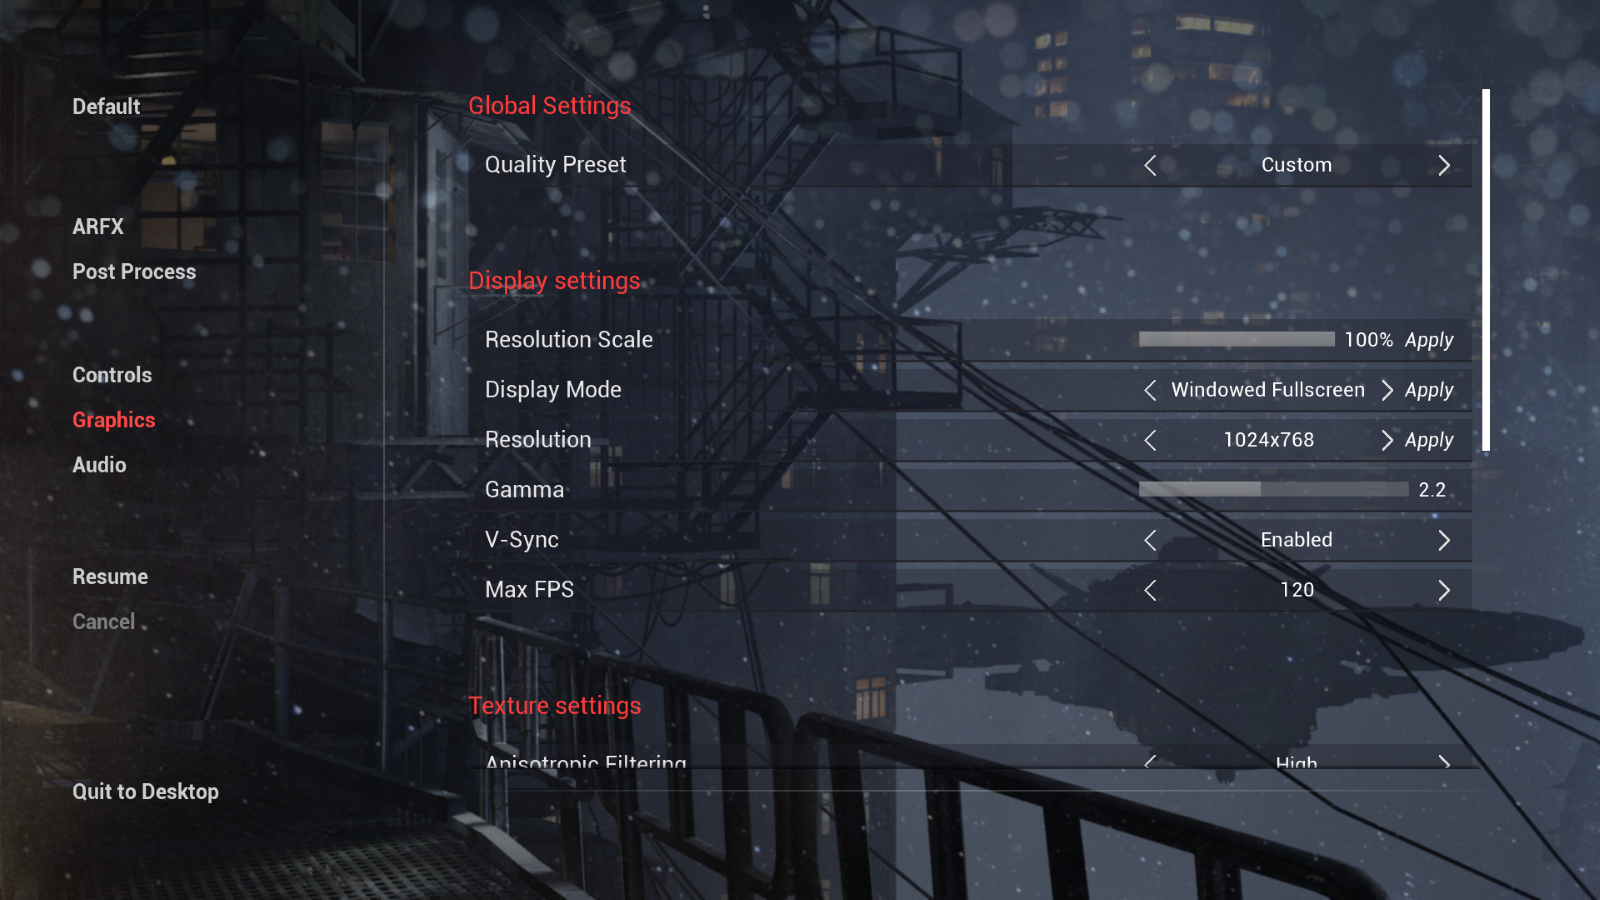
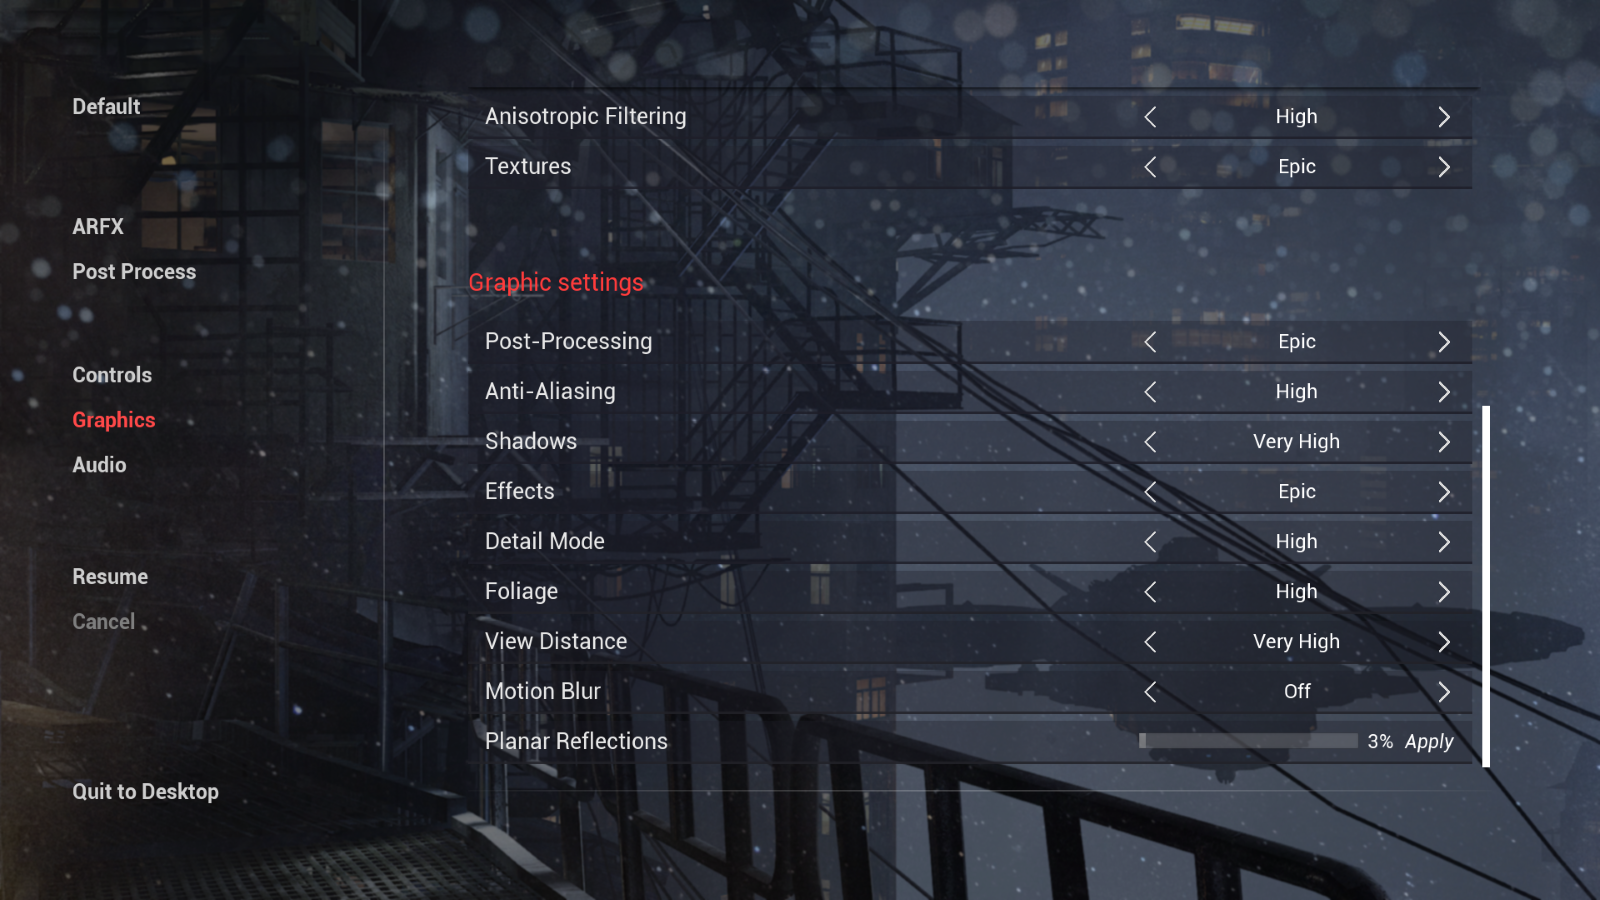
- Graphics: This section gives you greater control of the overall quality settings of the scene including:
- Global Settings:
- Quality Preset: Adjust the quality of all graphics and textures settings.
- Display Settings:
- Resolution Scale: Adjust the sharpness of the game graphics. When it’s too low, the items can show a blurry image.
- Display Mode: Select the display mode.
- Resolution: Select the display resolution.
- Gamma: Adjust the gamma Calibration.
- V-Sync: Vertical synchronisation to prevent screen tearing.
- Max FPS: Select the max FPS.
- Texture Settings:
- Anisotropic Filtering: Reducing blur and preserving detail at extreme viewing angles.
- Textures: Adjust the quality of the textures.
- Graphic Settings:
- Post-Processing: Adjust the quality of post processing effects.
- Anti-Aliasing: Adjust quality of AA, smooths the object’s graphics. It is recommended to turn this on.
- Shadows: Adjust the quality of the shadows for character and objects.
- Effects: Adjust the quality of various effects like reflections and the material fidelity. (Can take a moment)
- Detail Mode: Adjust the minimum detail level for an actor to render.
- Foliage: Adjust the quality of Foliage.
- View Distance: Adjust the visible distance, objects will be hidden based on their distance to the player.
- Motion Blur: Adjust the blur quality on fast moving objects.
- Planar Reflections: Sets any and all planar reflections in the scene to render at a % of the screen’s resolution. Recommended at 50% or lower.
- Global Settings:
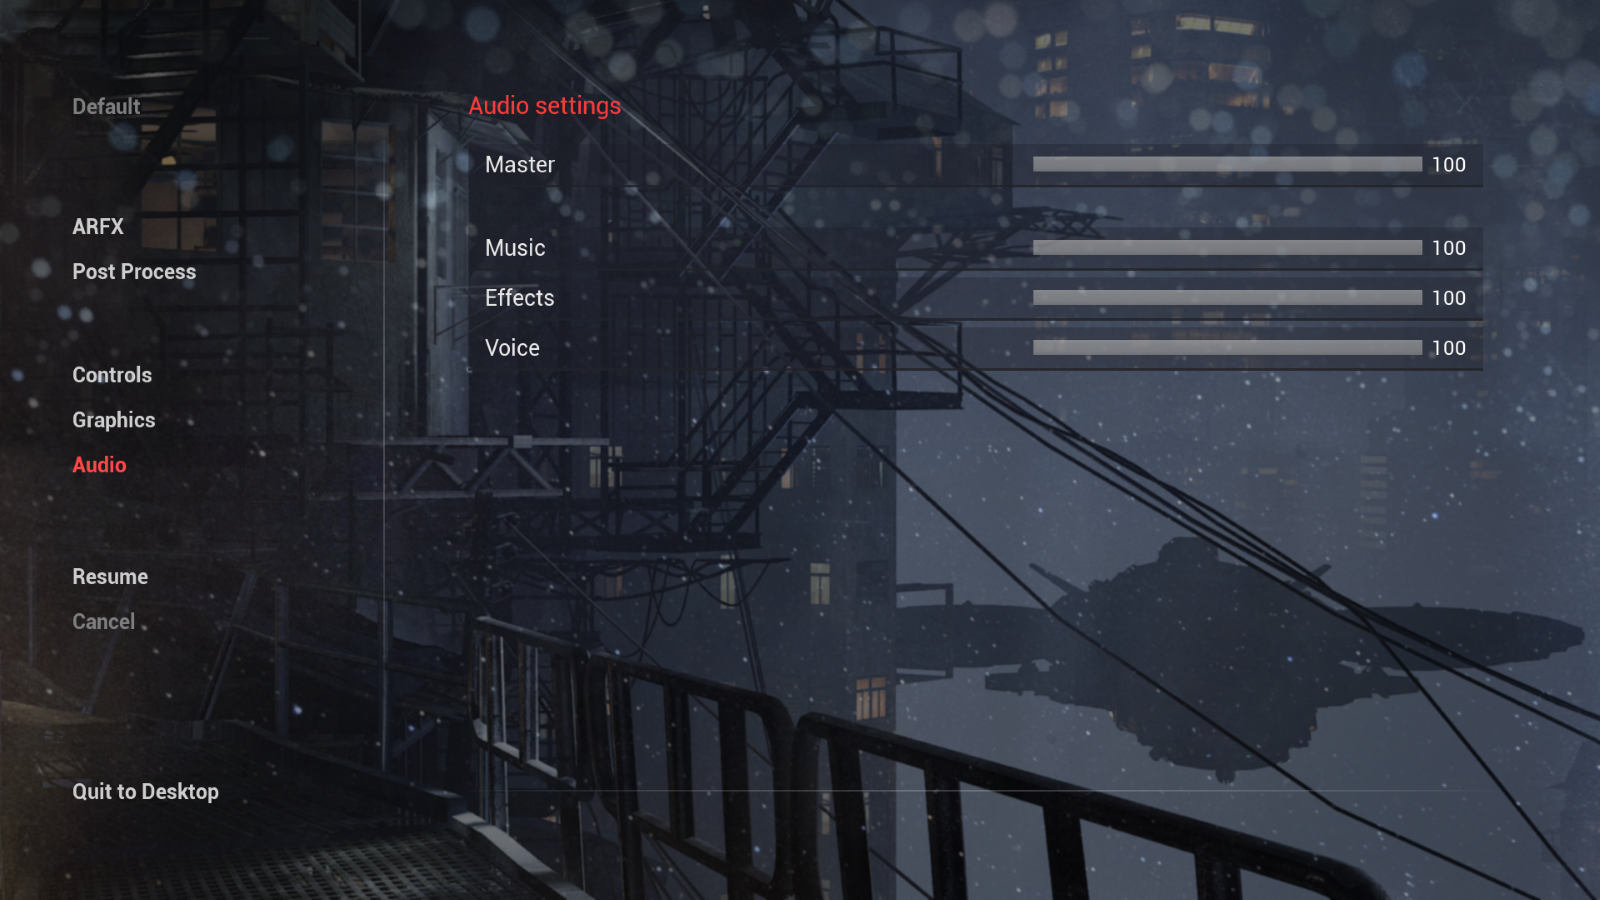
- Audio:Provides you with greater control of your audio settings if applicable.
- Audio Settings:
- Master: Adjust all Volume.
- Music: Adjust the Music Volume.
- Effects: Adjust the Effects Volume.
- Voice: Adjust the Voice Volume.
- Audio Settings:
- Resume
- If you have made changes to any of the above settings it will ask you if you want to save before resuming.
- Cancel
- This will cancel any changes made to the above settings and resume play.
- Quit to Desktop
- This will exit the application.
- ARFX:
Was this article helpful?