ARFX Launcher Quick Start Guide
- 07 Aug 2025
- 5 Minutes to read
- Contributors


- Print
- DarkLight
ARFX Launcher Quick Start Guide
- Updated on 07 Aug 2025
- 5 Minutes to read
- Contributors
- Print
- DarkLight
Deprecated
Article summary
Did you find this summary helpful?
Thank you for your feedback!
Congratulations on your new purchase of the ARFX Launcher! The ARwall team is here to help you achieve your filmmaking dreams with easy-to-use virtual production tools. These are the same tools we have used on many of our own projects like The Muppets Haunted Mansion, Nightflyers, and many more, but packaged in a user-friendly Launcher!
ARFX LAUNCHER USER MANUAL
This is intended to be a quick start guide to your new ARFX Launcher. For the full manual, you can find it here: https://arwall.document360.io/docs/arfx-launcher-user-manual-for-htc-vive-tracking-hardware
In this quick start guide, you can find:
- Prerequisites
- Hardware Requirements
- Software Requirements
- 7-Zip
- .NET6 Runtime
- SteamVR
- Helpful Videos
- Product Set Up
- Helpful installation to use your product:
- USBDeview
- Helpful installation to use your product:
- Troubleshooting Tips
Additional Seats
Please note that this license is for a SINGLE seat tied to the machine that you initially log into. If you would like to have access to additional seats or have questions, please reach out to Support@arwall.co.
PREREQUISITES:
- Please note that a basic knowledge of Unreal Engine is NOT needed to set up and run the ARFX Launcher. ARwall strives to make our tools easy to set up and use!
HARDWARE REQUIREMENTS:
If ARwall did not build and issue you a computer, for a basic set up of ARFX Launcher, please note that you’ll need the following hardware:
- PC Machine/server running Windows 10 or 11 that can run VR technology, we generally recommend a GPU of RTX 2080 or better (minimum GTX 1080)
- Tracking Hardware:
- HTC Vive 2.0 or 3.0
- 2 HTC Vive 2.0 or 3.0 Base Stations
- If using in a larger play area, it is recommended to add a third or fourth base station to extend the play area for the trackers. The full system can support up to 10 base stations at a time.
- 1-2 HTC Vive 2.0 or 3.0 Trackers
- With USB 3.0 extension cables that are long enough to connect the trackers from the machine/server to the center of the screen (1 calibration tracker puck) and wherever the camera will be in the play area (1 hero tracker puck)
- If only using one tracker make sure to have a USB extension cable that is long enough to reach both the center of the screen and wherever the camera will be in the play area
- 2 HTC Vive 2.0 or 3.0 Base Stations
- HTC Vive 2.0 or 3.0
- Any type of screen (can be a computer monitor, projection, TV, or LED wall), 32 inches + recommended, that is connected to your machine/server
SOFTWARE REQUIREMENTS:
- If you don’t already have 7-zip, use this link to download and install the software to unzip your product file: 7-Zip (7-zip.org)
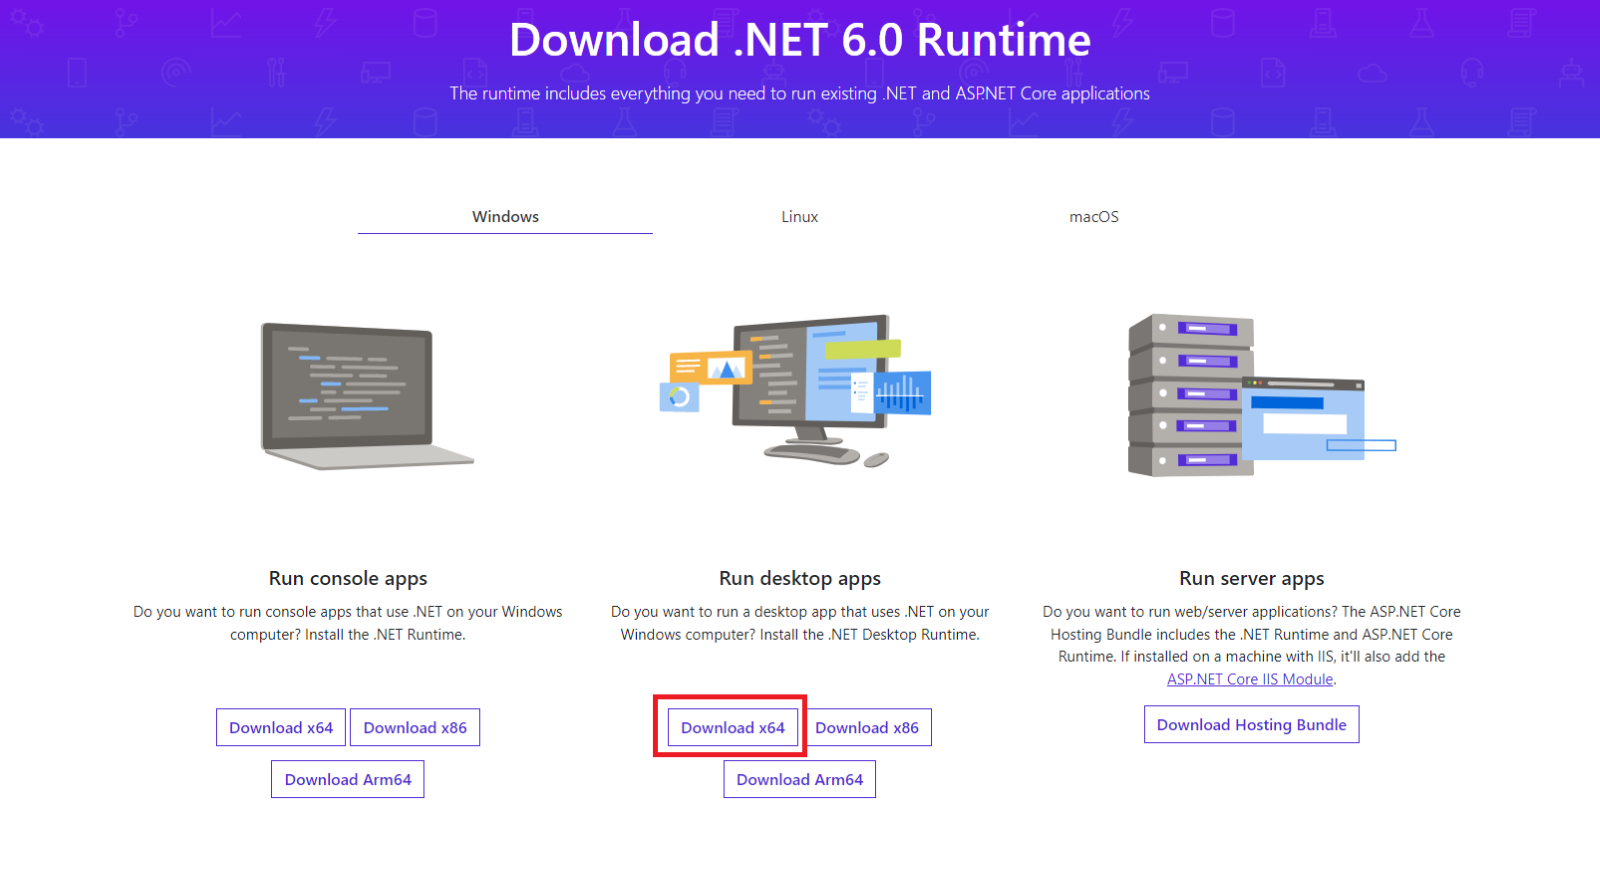
- For the product to run correctly, please download and install your appropriate operating system .NET6 Runtime. You’ll most likely be using the Windows x64 version: https://dotnet.microsoft.com/en-us/download/dotnet/6.0/runtime
- The HTC Vive tracking hardware requires SteamVR. To install SteamVR, install Steam first, which requires a free account.
- Install Steam:
- Instructions here: https://support.steampowered.com/kb_article.php?ref=3046-ECVN-3712
- Install SteamVR:
- Within Steam, search for SteamVR and install (or use this external link: https://store.steampowered.com/app/250820/SteamVR/)
- Install Steam:
VIDEOS:
- Quick Start Video walkthrough: https://youtu.be/buZoE7cLvGU
- ARFX Launcher Software set up under 5 mins: https://youtu.be/68Qwi0DEscc
- ARFX Launcher UI & Setup: https://youtu.be/QCdHLf-6o9E
- HTC Vive Lighthouse set up: https://youtu.be/gqfNL45M7PI
- The last 15 seconds of this video is probably the most useful for you, where we demonstrate how to position the lighthouse to see the intended play area for the tracker.
- HTC Vive Base Station Channel Set up: https://youtu.be/zIl316JBOvY
- If using more than 2 base stations, be sure to change each base station to be on its own unique channel.
PRODUCT SETUP:
Please refer to the ARFX Launcher Manual for a thorough set up.
- Notable sections to set up for the ARFX Launcher are:
- Section 3on how to set up Lighthouses
- Section 3.4 has a diagram to help show where things should be placed on the virtual production set
- Section 4 on how to get the ARFX Launcher up and running
- Section 5 on calibration, virtual camera controls, and helpful hotkeys
- Section 3on how to set up Lighthouses
Quick Start Guide for Setup with troubleshooting tips:
- After installing .NET6 Runtime, download the ARFX Launcher.
- The launcher is a large file (32.6 GB Compressed) so make sure it finishes downloading completely before proceeding.
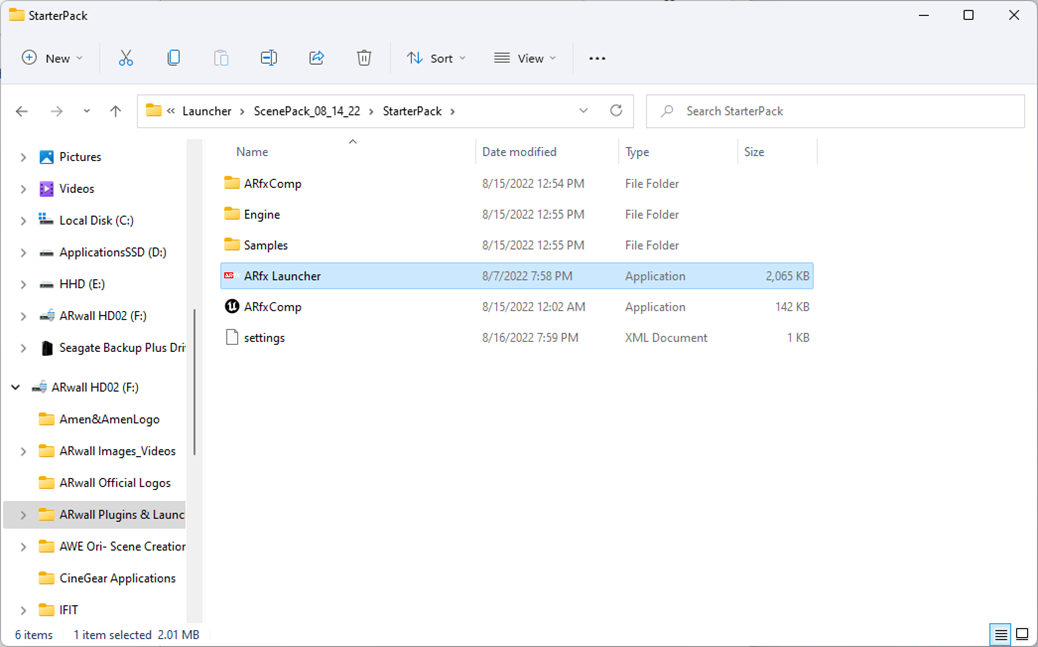
- Unzip the file using 7-zip (file will be 96.7 GB Uncompressed) and open the ARfx Launcher
- The ARFX Launcher user interface will open:
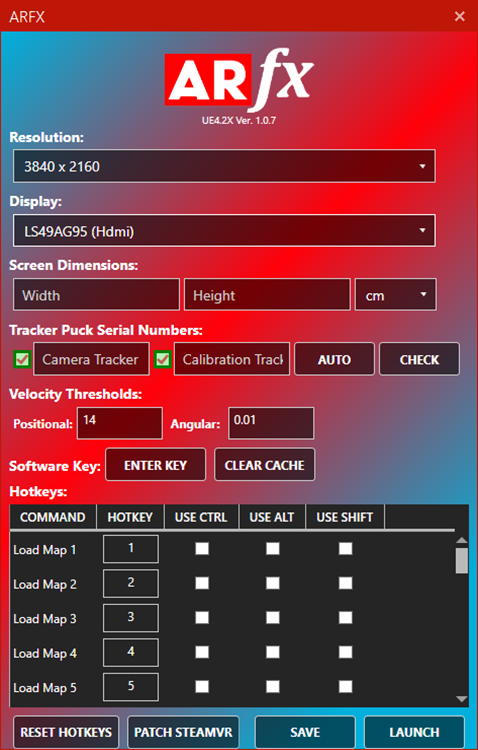
- Select your preferred screen RESOLUTION
- Select the DISPLAY you wish to output to
- Measure the width and height of your physical screen and input them into the SCREEN DIMENSIONS in centimeters or inches.
- Make sure your Trackers Pucks are connected to the machine, click AUTO button under TRAKER PUCK SERIAL NUMBERSand it will automatically input your Serial numbers.
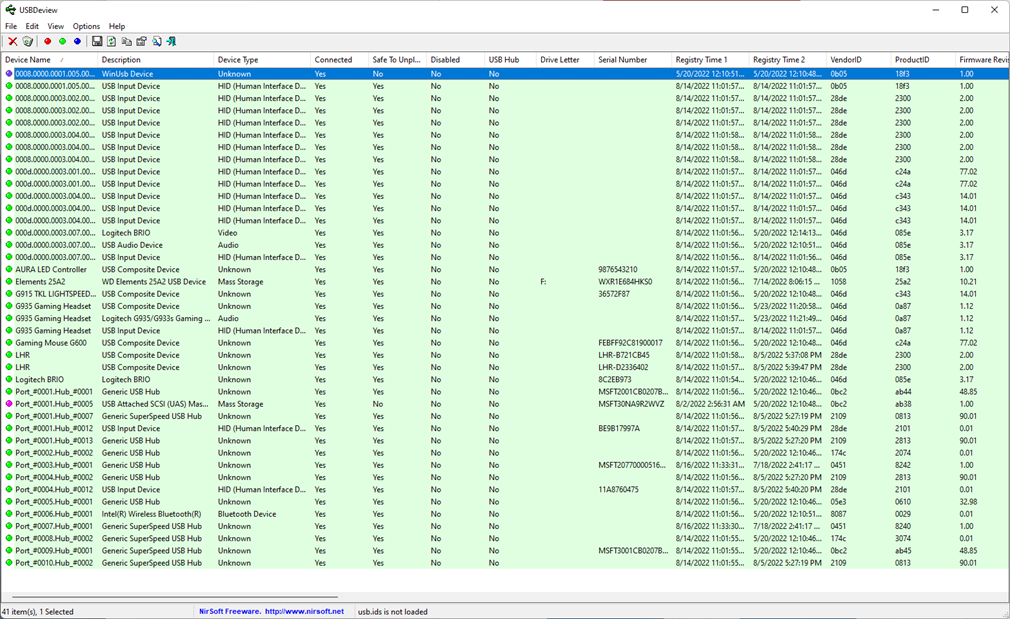
- If your system has trouble automatically recognizing your connected Tracker(s), download and install USBDeview: https://www.nirsoft.net/utils/usbdeview-x64.zip
- Launch USBDeview and it will display all the USB devices connected to your machine.
- Under the Serial Number Column, the Tracker serial numbers will display ‘LHR’ before them so look for that. Then copy and paste the relevant serial number(s) into the Tracker Puck Serial Numbers section of the launcher.
- Enter your specific Software Key or Activation Code into ENTER KEY.
- If the Activation Code was previously entered incorrectly, click CLEAR CACHE and re-enter the correct key in ENTER KEY.

- Once you have completed your changes, make sure you click SAVE, then click LAUNCH.
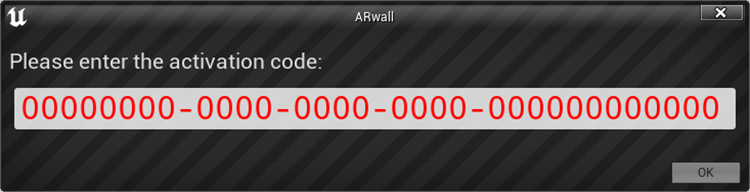
- If it is the first time using the Launcher or cache has just been cleared, an activation code prompt will open. Copy and paste your Activation Code here and click OK.
- You should see the ARFX Screen open along with a browser window with a login prompt.
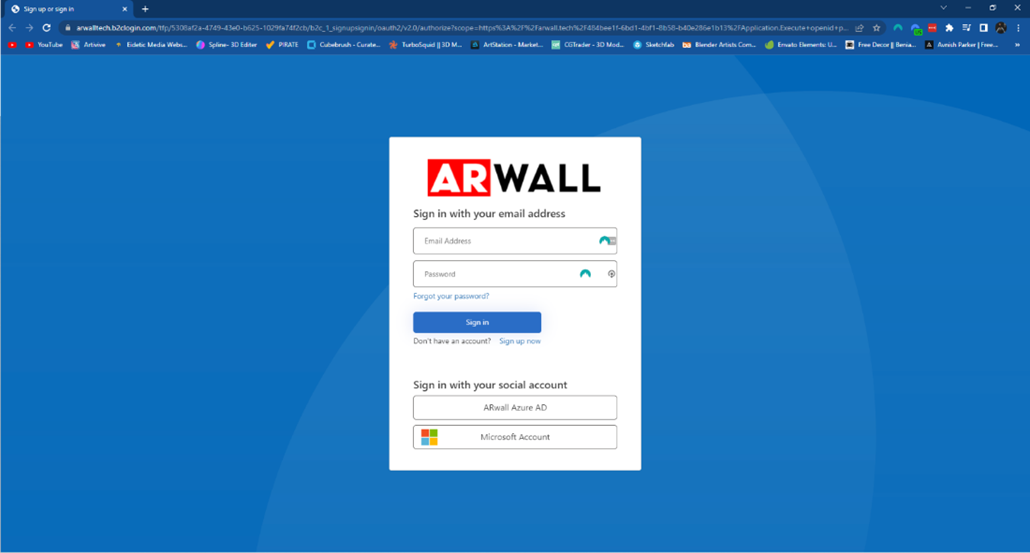
- *** If the ARFX Screen opens above the browser window and you can’t see the browser window, please use ALT-TAB on the keyboard to select the browser window to display on top.
- Please create a new account by clicking Sign up now or if you have an existing Microsoft account, please use the Microsoft Account button to login.
- After your first successful login, be sure to use the same email login and password for all future logins.
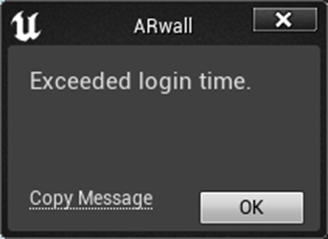
- *** You will have 90 seconds to enter your login information otherwise the “Exceeded login time” message will appear, and the ARFX screen will close.
- If you are creating a new account, then you will most likely see this.
- Please finish creating your account and launch the program again.
- If your login is successful, you should see this window

- Click back to your ARFX Screen, proceed with calibration as defined in Section 5 of the User Manual, and you are now ready to start creating!
TROUBLESHOOTING
- If your Launcher keeps crashing or closing on you, try the following:
- Make sure you download and install .NET6.0 Runtime before attempting to login/open the Launcher: https://dotnet.microsoft.com/en-us/download
- Make sure you have the most up to date ARwall Launcher.
- Check to make sure you have entered the correct Activation Code.
- Check that your GPU Drivers are up to date.
- If you're still having issues, please contact us at Support@arwall.co.
Feel free to reach out to us @ support@arwall.co if you have any questions or issues. Thanks!
Was this article helpful?